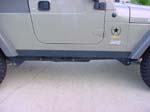
One bad thing about the Unlimited is that it is really long
and tends to scrape over things and not be able to make very sharp turns.
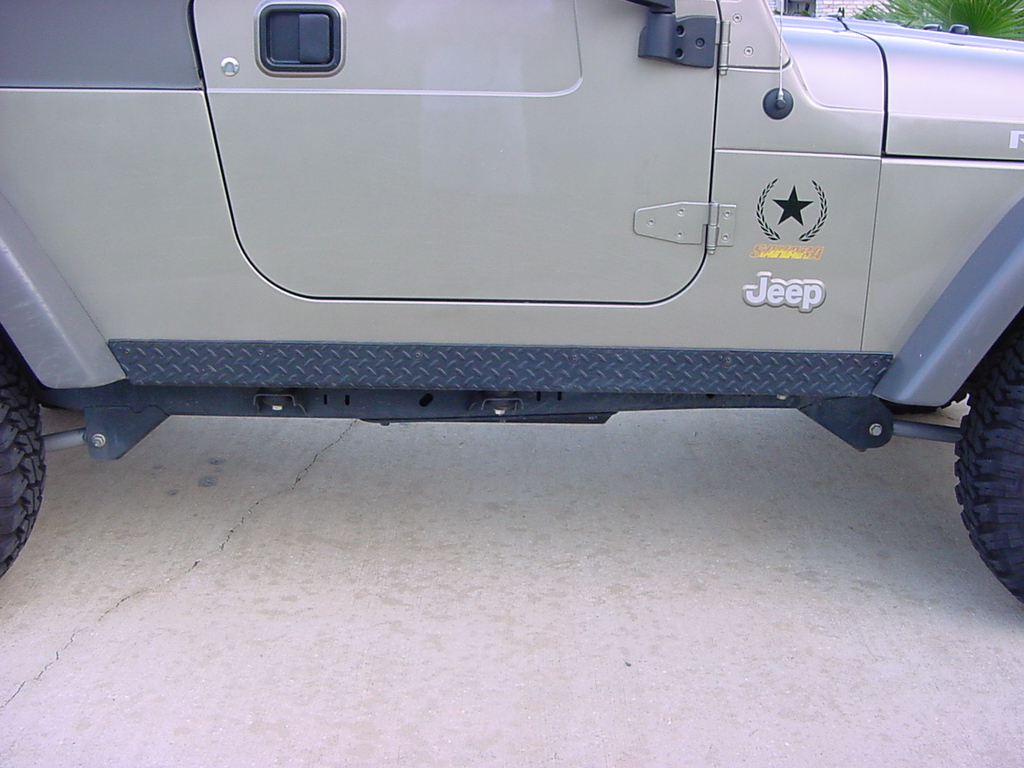
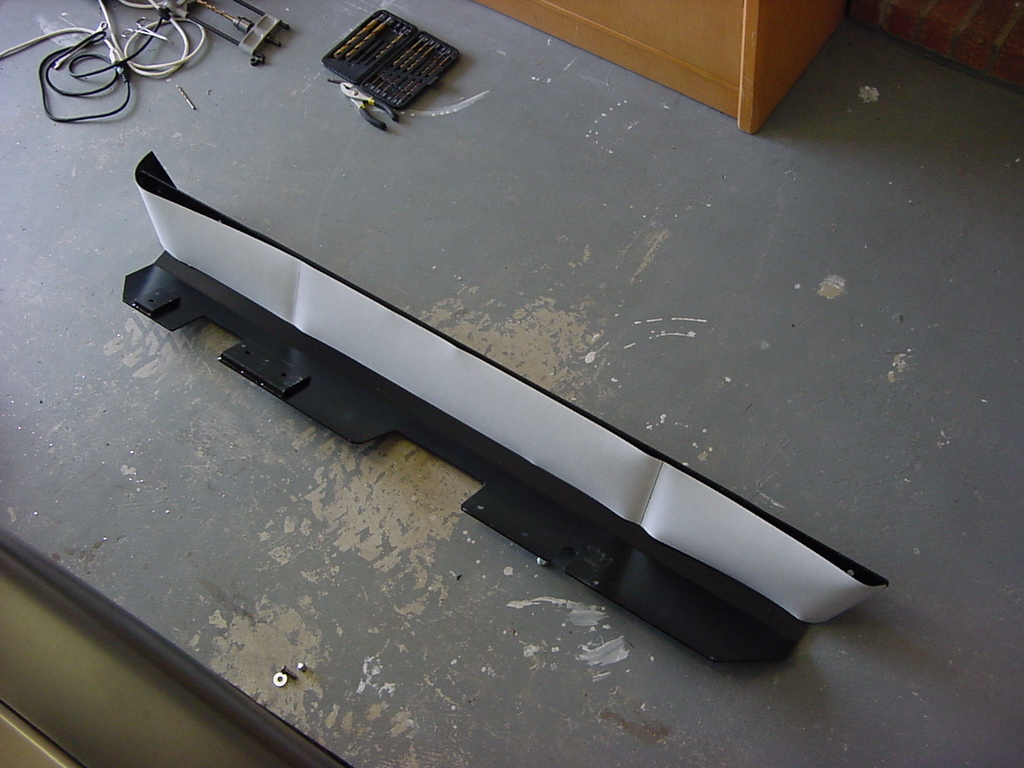
I needed something to protect the side of the Jeep from getting crushed.
I also wanted a step for the side. I looked around for a slider that meet
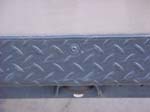
what I wanted and once again Rokmen came through with a part. These things
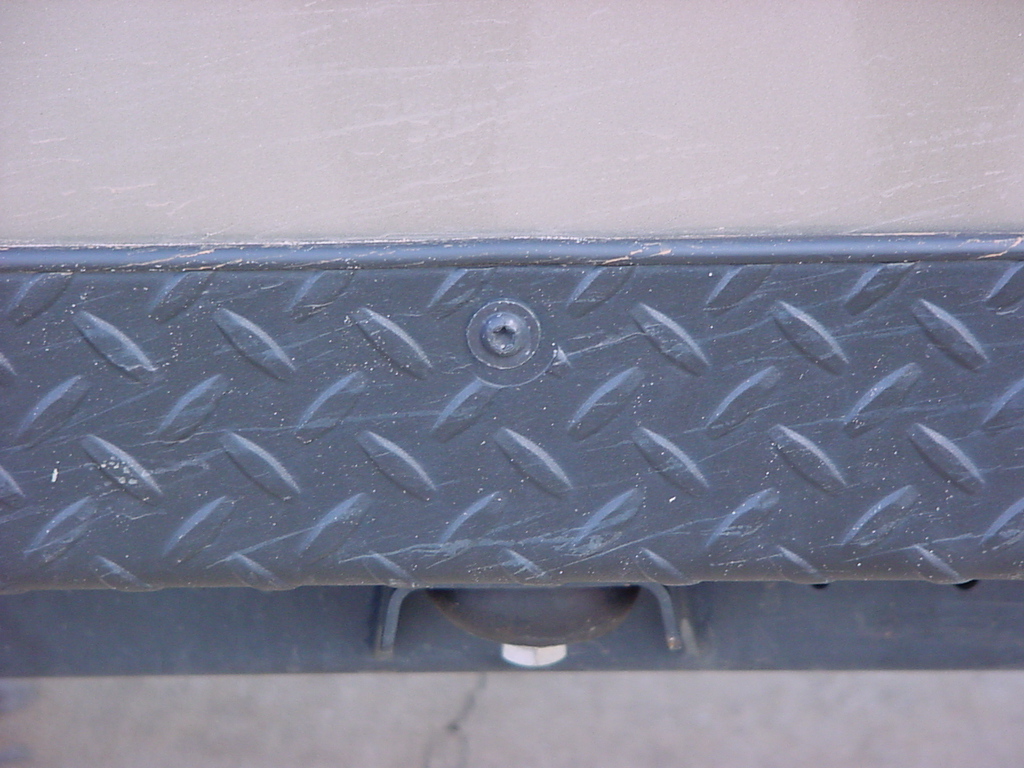
are massive. Nice heavy gauge steel, nice welds.
Installation: |
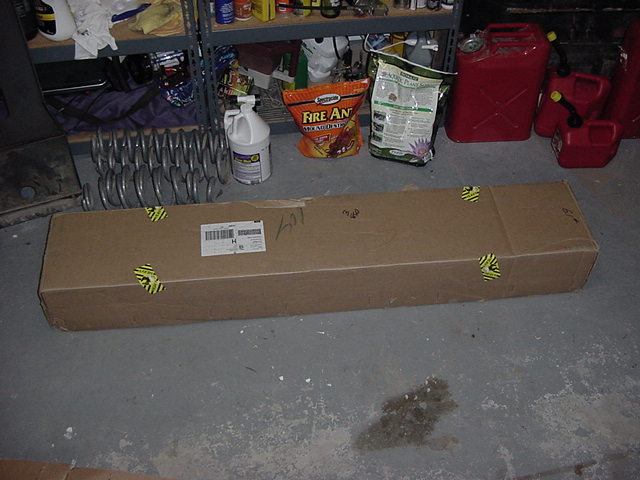
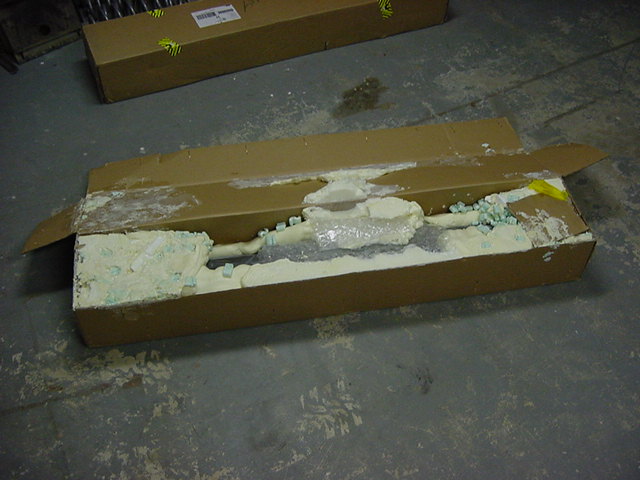
Here is
the box that they came in. I won't comment on the amount of foam
packing that these things are covered with, just make certain you
dig through all of it and make certain you have all the pieces out
of it. |
|
|
|
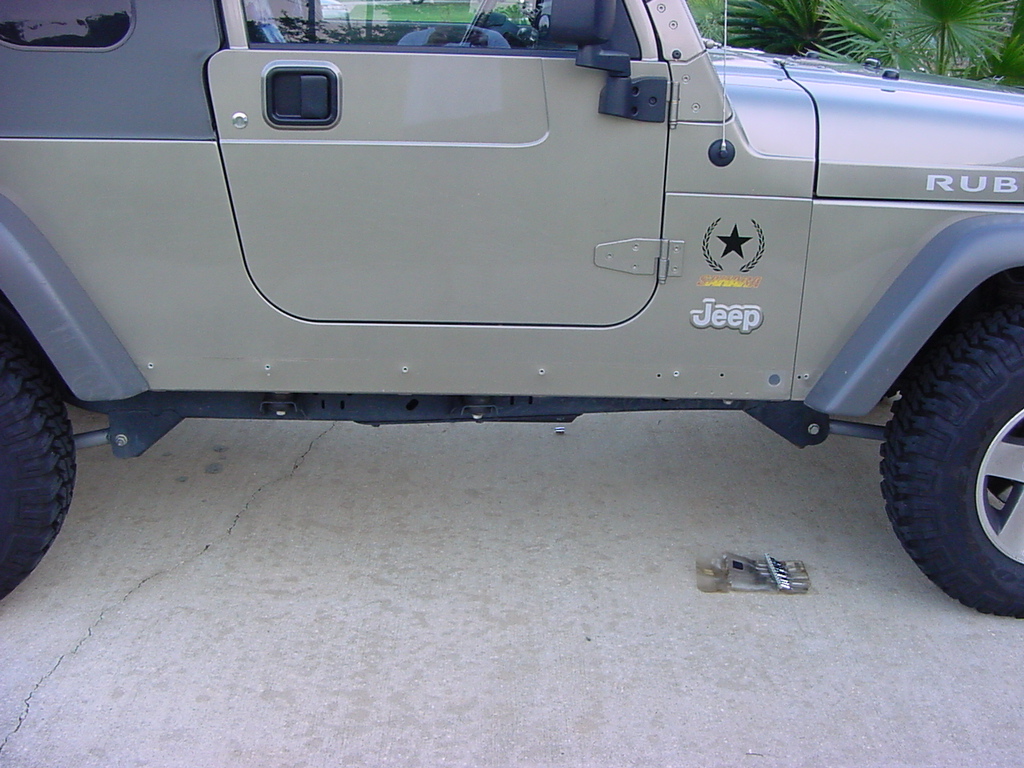
1.
On the Rubicon you will need to remove the factory side rocker panels.
These can be removed with a T-30 Torx and a 10mm socket. |
 |
 |
 |
 |
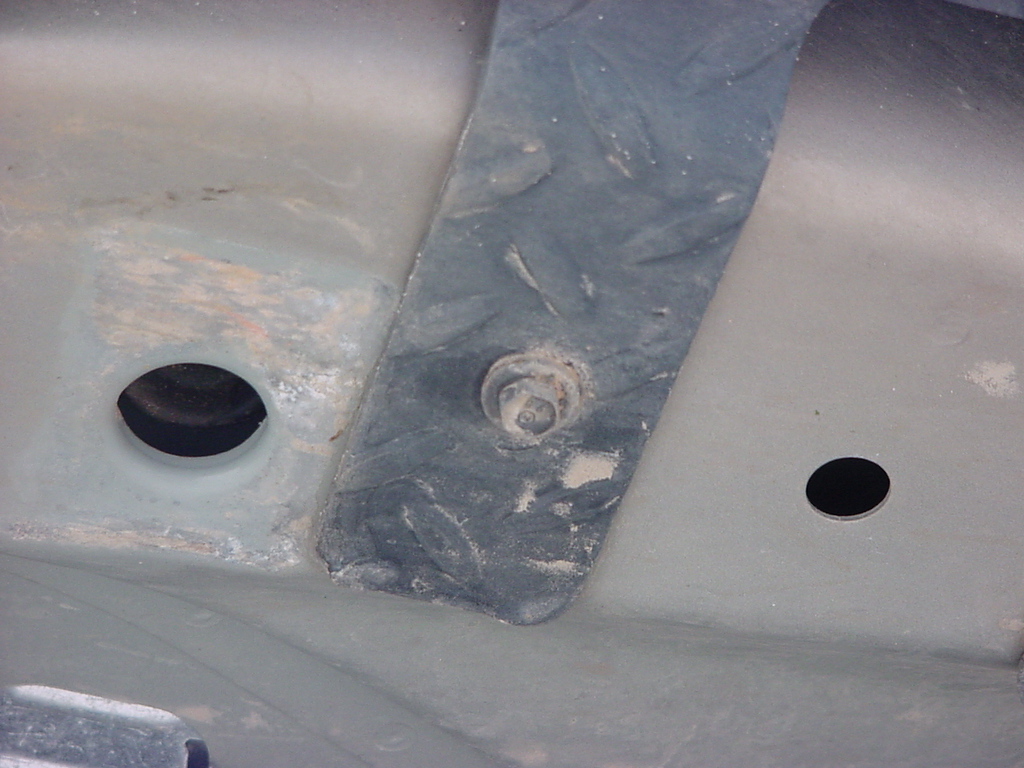
2. Depending
on the accessories installed on your vehicle there may be rivnuts
or other hardware attached to the body side. These need to be removed.
Rivnuts can be removed by drilling them out with appropriate size
drill bit. |
|
|
|
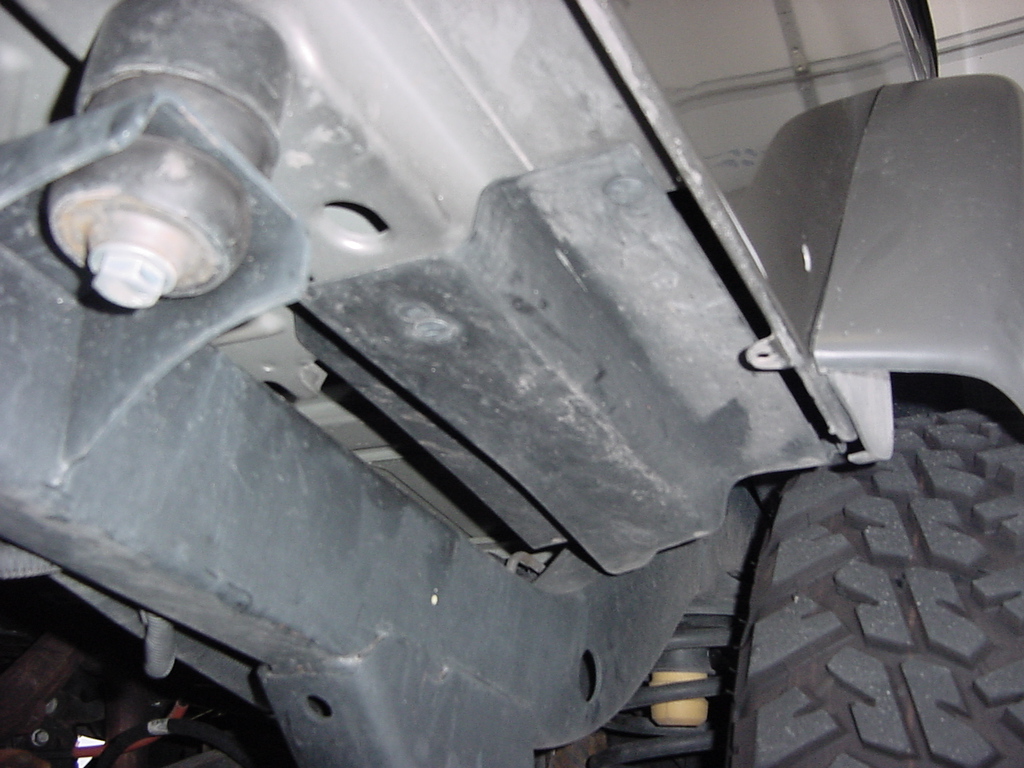
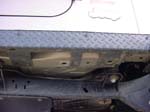
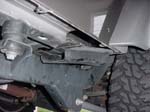
3.
The front portion of the rear inner fender liner on each side also
needs to be loosened and pulled away from the body for access later
in the install. If this is not done the slider will not sit flush
on the bottom side of the body and overall fitment will be very
poor. |
 |
 |
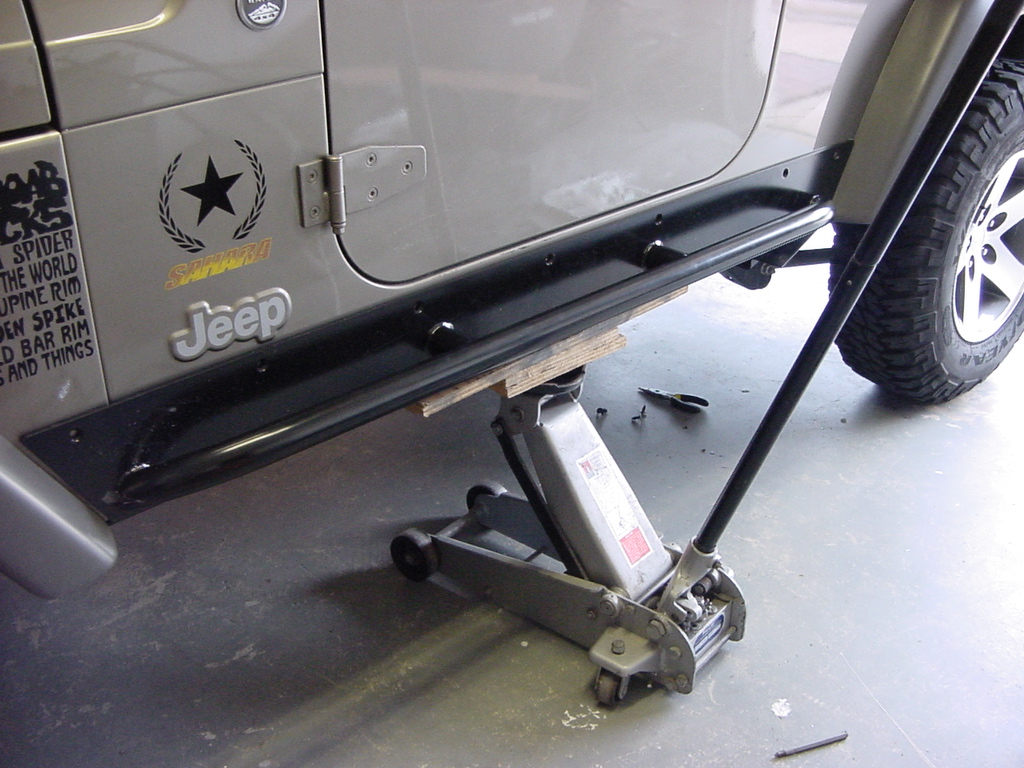
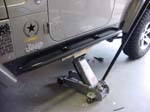
4.
Hold slider to side of vehicle, position evenly left and right between
the flares. Make sure slider is positioned snug against the side
and the bottom of the vehicle. I used a floor jack and a piece of
wood to lift and hold this slider in position, it's pretty heavy.
Make certain that you didn't pinch the piece of the rear fender
well liner between the slider and body. |
 |
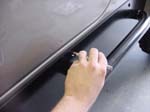
| 5. Center punch the side of
vehicle in one of the center holes. Overall alignment centers around
the accuracy of this hole. |
 |
6. Remove slider from body
side and drill center punch with 3/16” pilot bit followed
by 3/8” bit. |
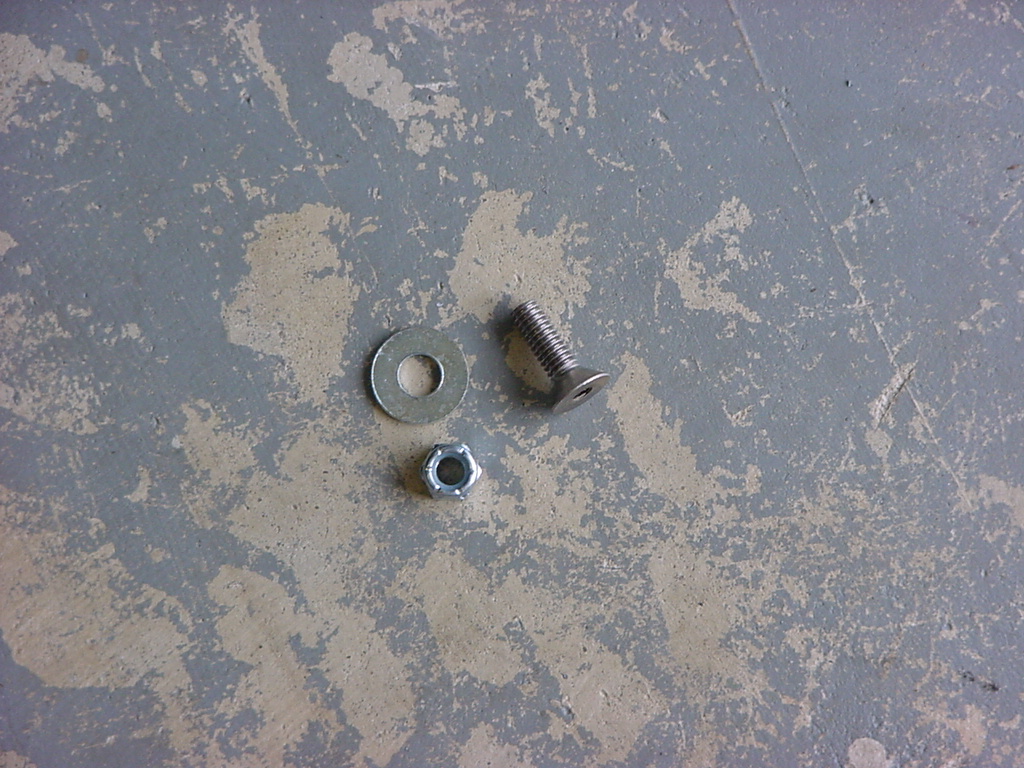
7. Place slider back onto
vehicle and fasten with 1” x 5/16” stainless bolt with
5/16” washer and nylock. Ensure rocker is aligned between
flares and is flat against side and bottom of vehicle before proceeding.
You will neeed a 3/16" Allen wrench and a 1/2" deep well
socket. |
 |
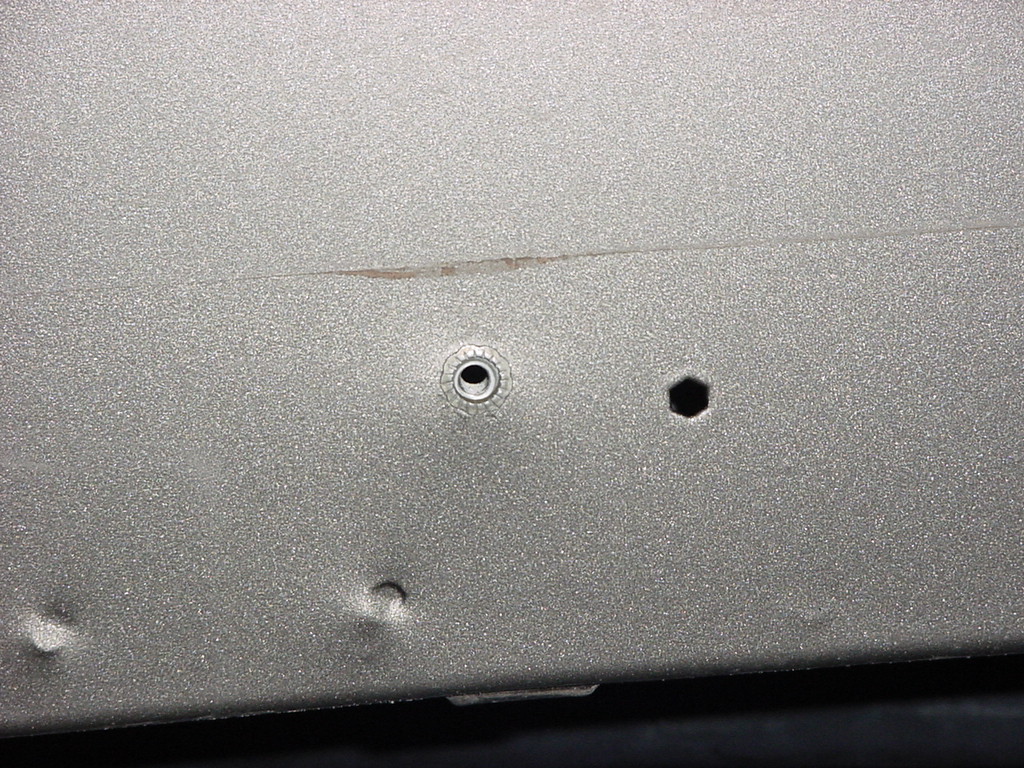
8. Center punch six remaining
holes on body side and remove rocker. Drill remaining holes starting
with 3/16”bit followed by 3/8” bit. When drilling second
hole from front and second hole from rear of vehicle drill through
both outer and inner body panels. |
| 9. If using a gasket material
place on slider now. You will need to trim the ends off. Watch out
this stuff is really sticky. |
|
|
10. Reinstall slider and
secure with 1” x 5/16” bolts in the two middle holes
on the side of the vehicle. Again ensure the slider is snug against
side and bottom of vehicle. Install remaining 1” x 5/16”
bolts working from the center of the slider outwards. The rearmost
hole on each side is accessed from the rear wheelwell area and uses
the same 1” x 5/16” bolts. A 3 ½” x 5/16”
stainless socket head bolt with a small one hole backing plate should
be used for both the second hole from front and second hole from
rear (front kick panel and near roll bar behind seat) |
 |
11. With slider installed
on vehicle proceed to the bottom side of the rocker and mark all
holes. Center punch all marks making sure center punch is centered
in the holes. Rokmen recommends that you remove slider. At this
point I was already tired of removing sliders, so I just drilled
through the holes. |
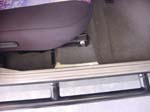
| 12. Pull up the carpet in the
front and rear foot wells, othewise you will end up drilling through
the carpet by accident. |
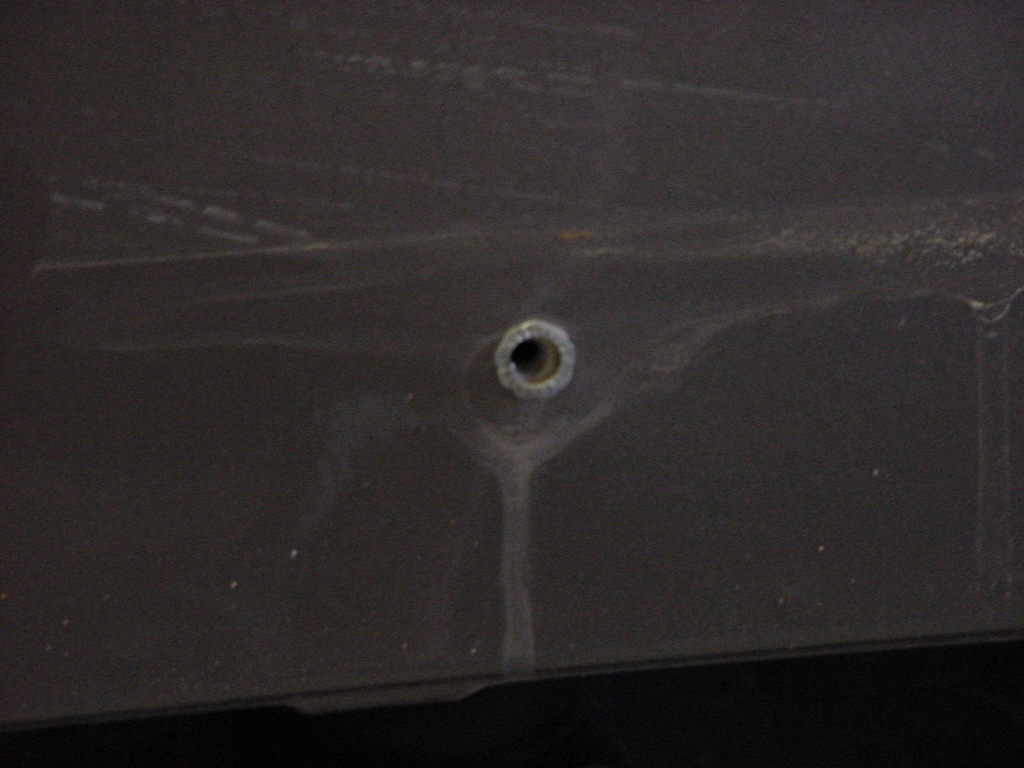
13. Drill holes through
bottom panels of the vehicle into the passenger compartment area
staring with 3/16” bit and moving to 3/8” bit. It is
critical to keep the drill as straight as possible as hardware must
go through two layers of sheetmetal. The rearmost hole does not
go through two panels, drill only though body reinforcement. |
14. Install slider for final
time starting with the sequence shown in step 10. Make sure all
surfaces are flush and do not fully tighten until all hardware has
been installed. |
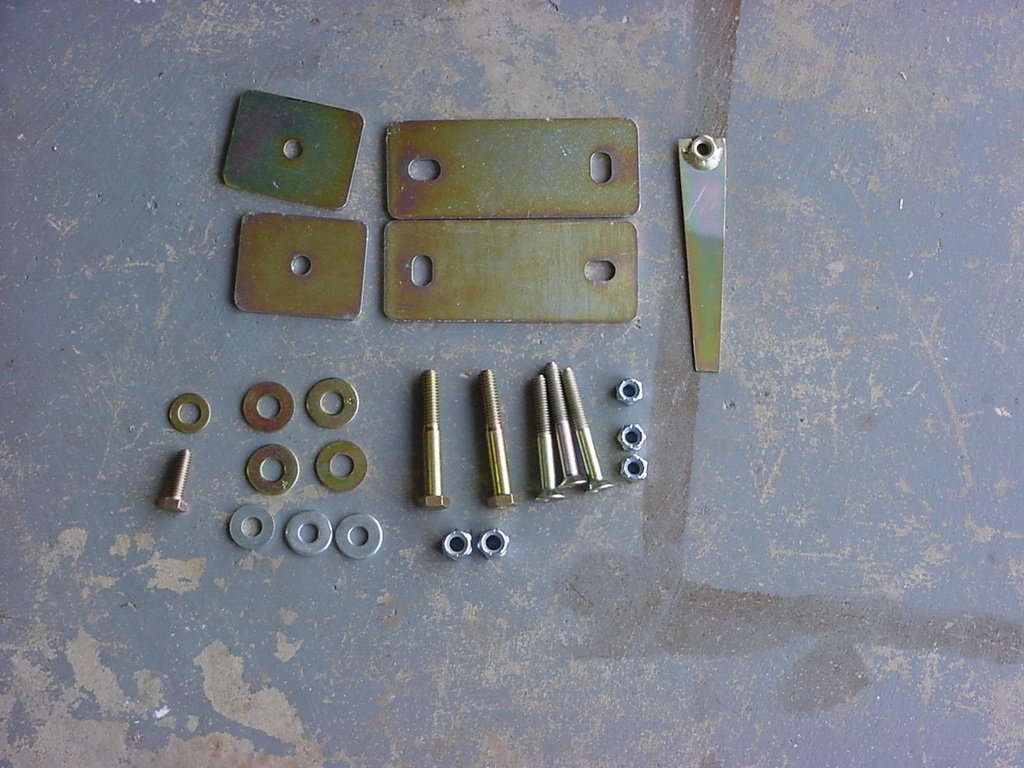
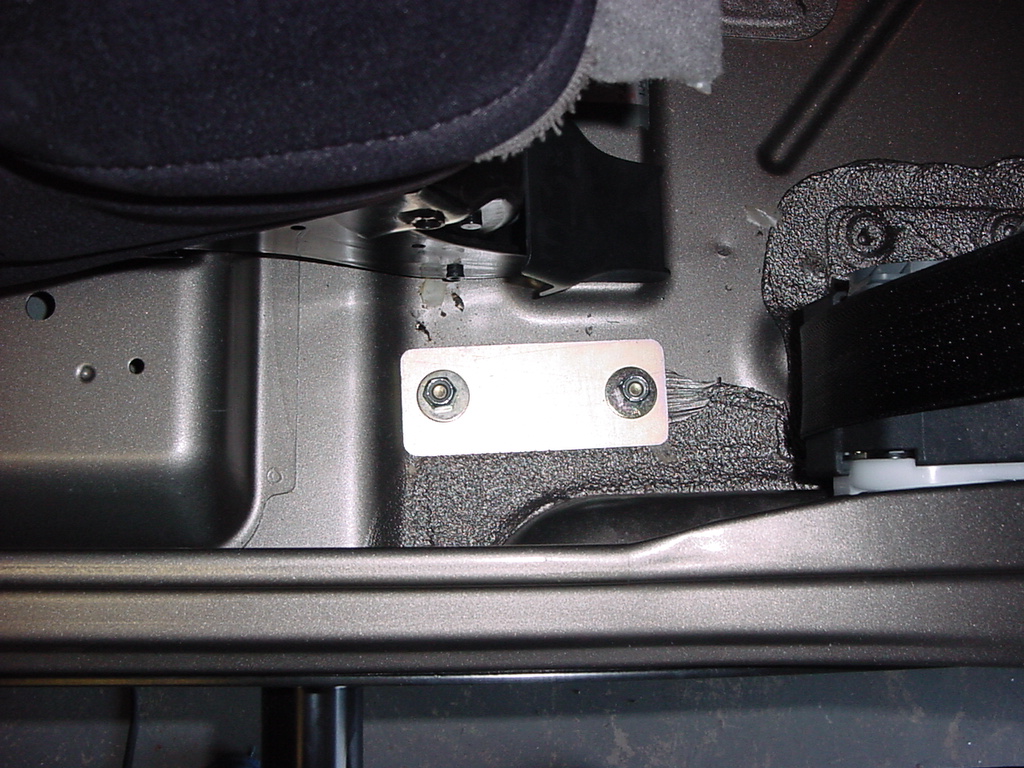
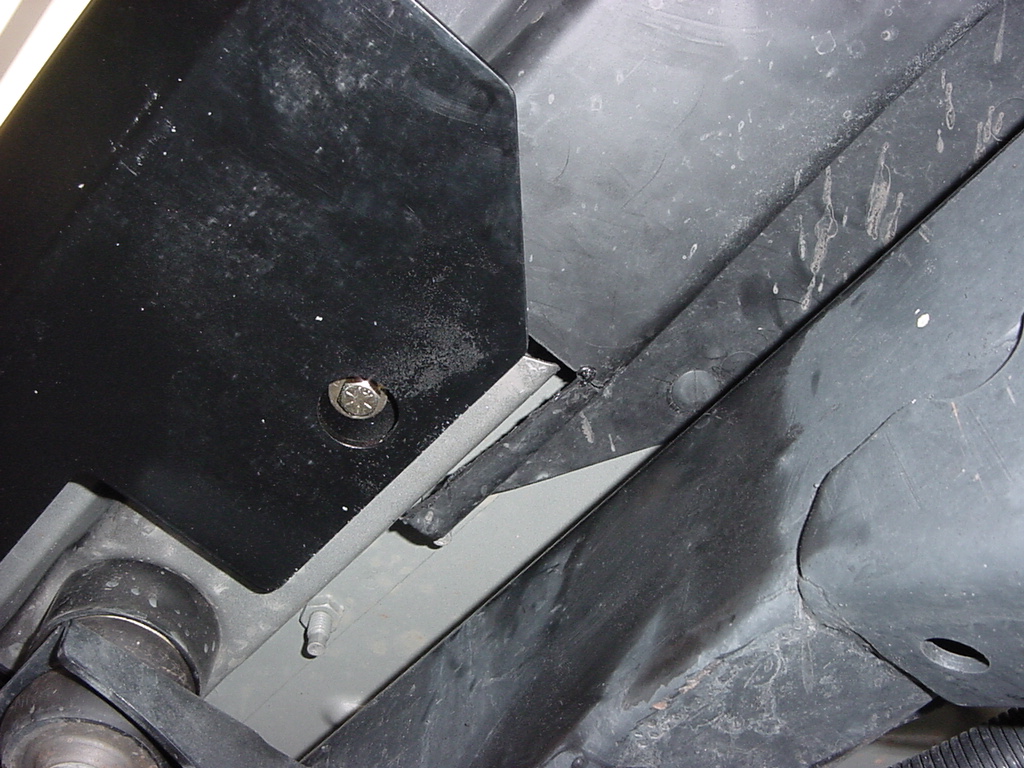
15. To install hardware
in passenger compartment area use backing plates provided. Starting
at the second hole from rear insert two grade 8 – 2 ½”
x 3/8” hex bolts with 3/8” grade 8 washers through support
on bottom of rocker and into passenger compartment. Place a large
2-hole backing plate over bolts and tighten with 3/8” grade
5 washers and nylocks. The two center holes on bottom use 2 ½”
x 5/16” alloy socket heads and 5/16” washer and nylock
inside vehicle. Front hole on the side of the slider uses a 2 ½”
x 5/16” allow socket head bolt. Secure bolt and single hole
backing plate and 5/16” washer and nylock nut. |
|
|
|
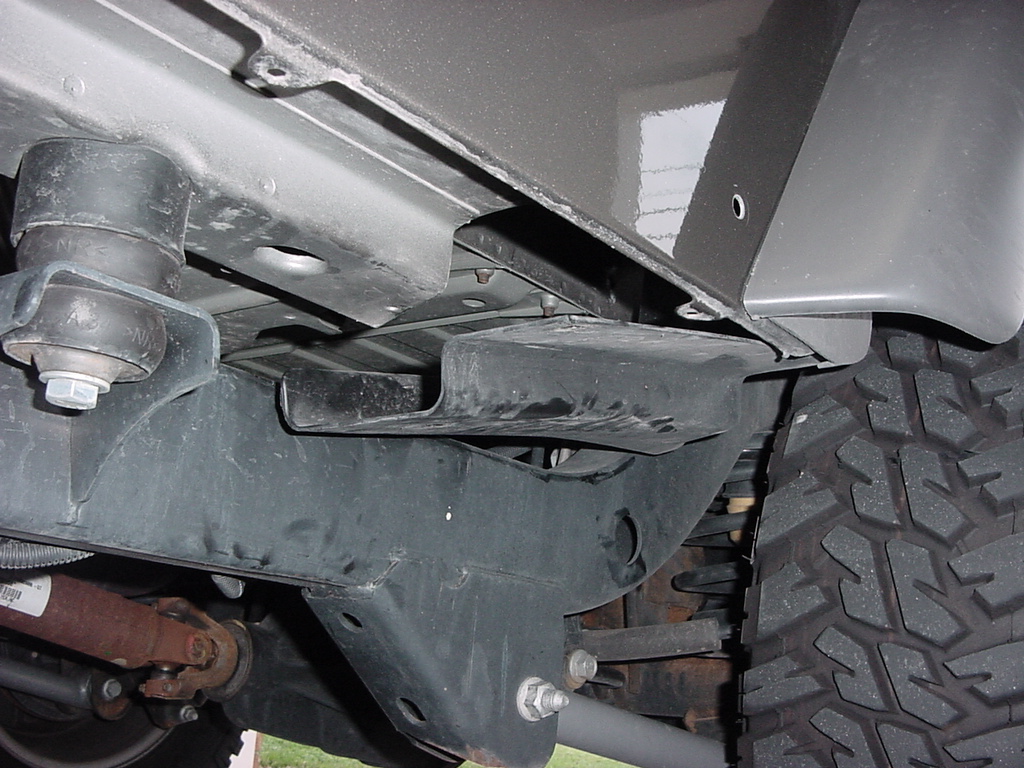
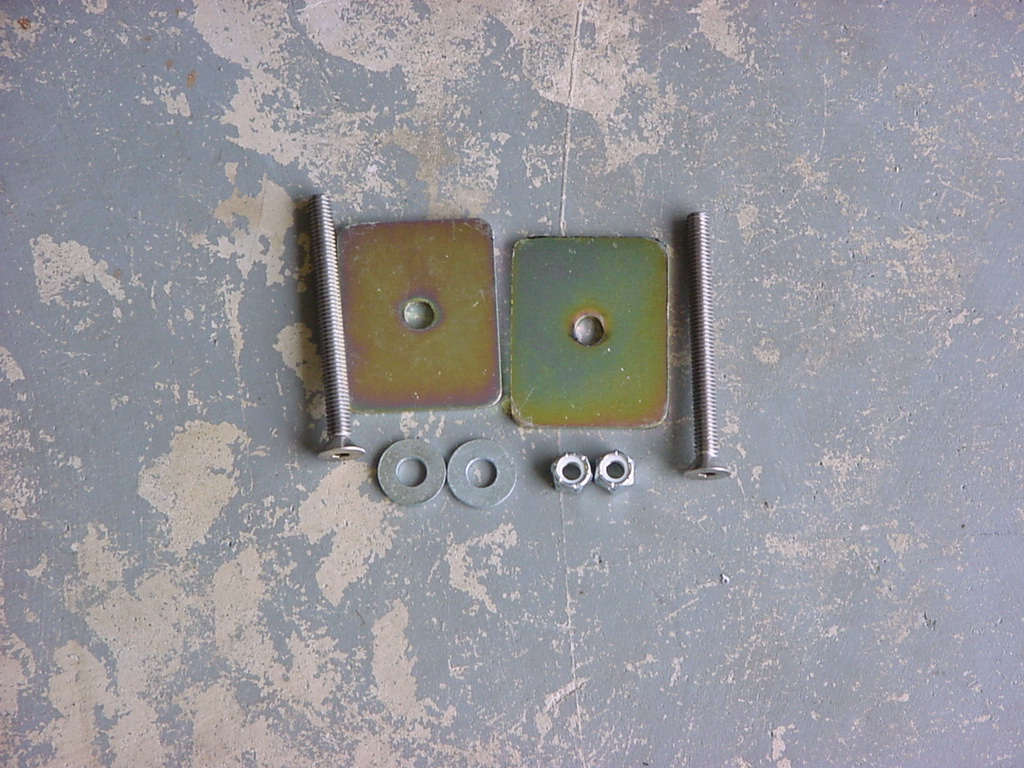
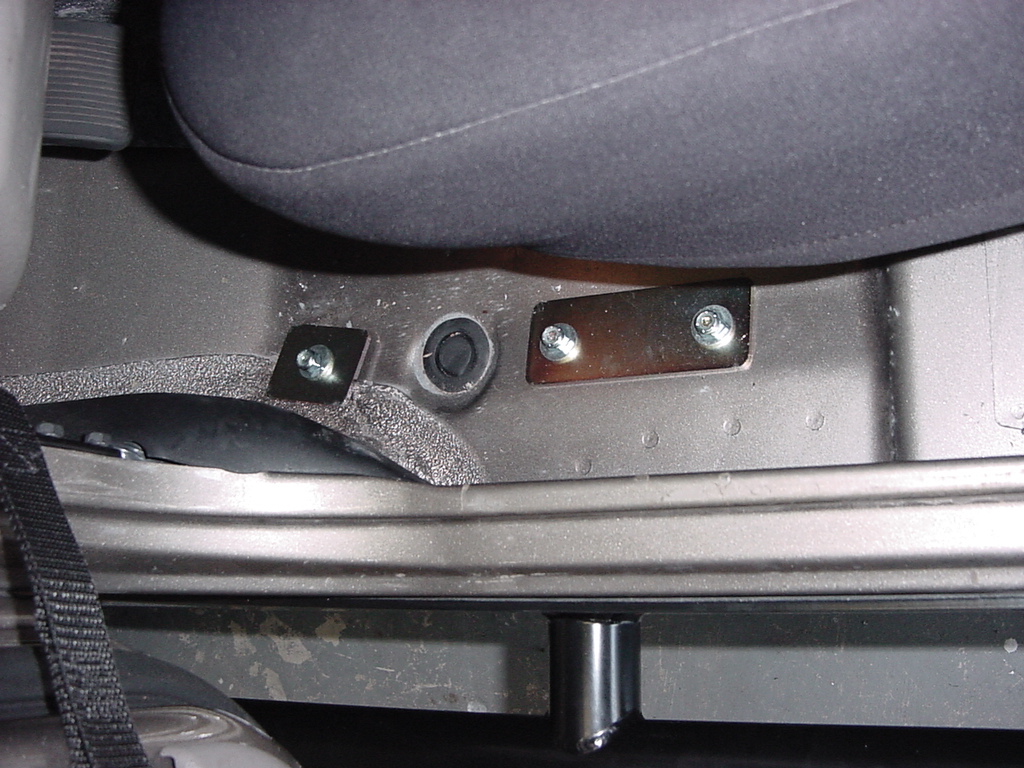
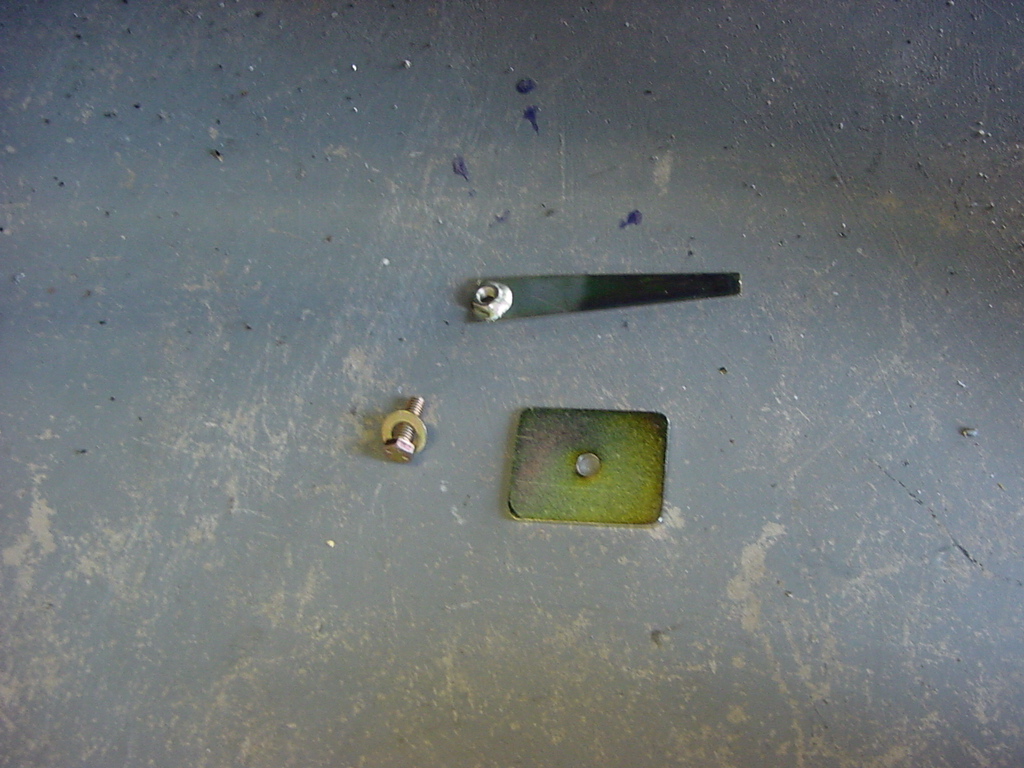
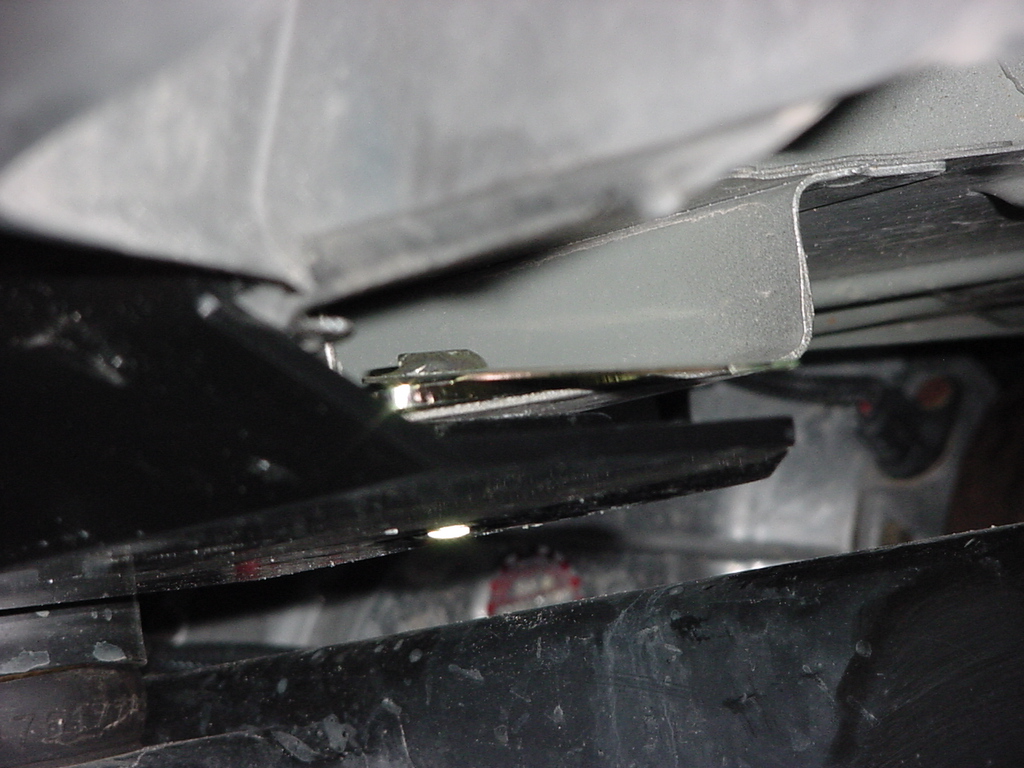
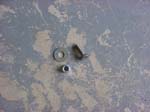
16. For the rearmost bottom
hole the nutstick is used in conjunction with a small backing plate.
The front portion of the rear inner fender has already been loosened
and moved out of the way for access. The small backing plate and
nutstick are slid inside the body reinforcement and fastened with
the 5/16” x 1” grade 8 bolt and 5/16” grade 8
washer. |
|
|
|
17. Do final tightening
of all bolts following sequence in steps 10 and 15. |
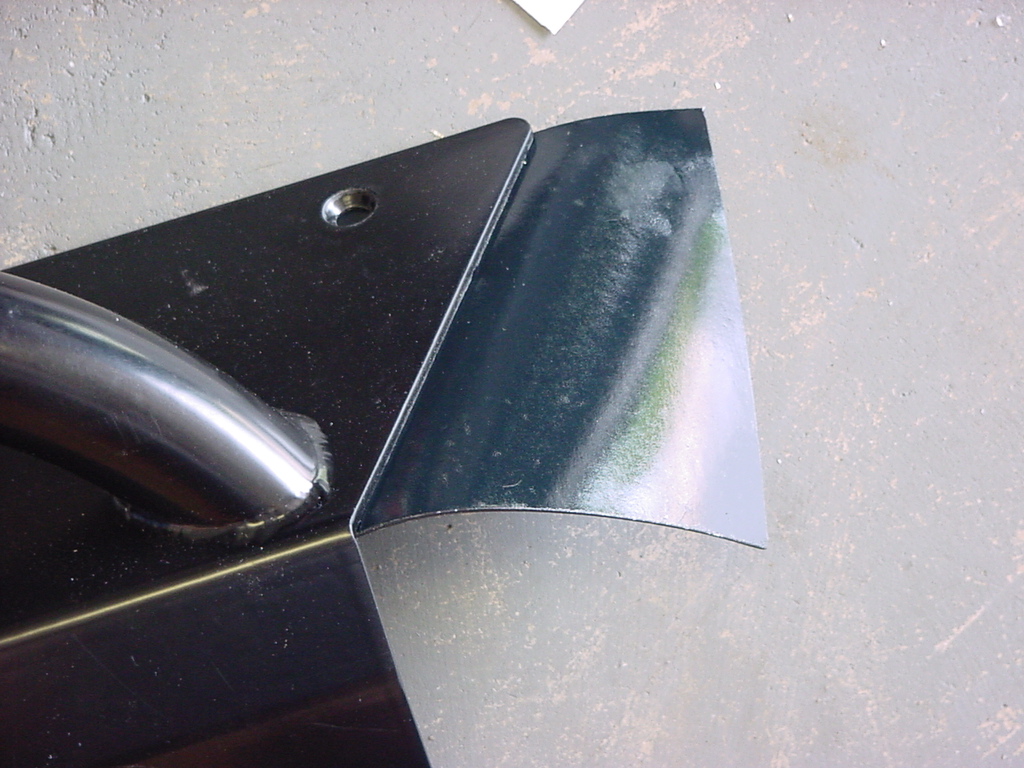
18. With the slider installed
and all hardware fully tightened a small section of the rear inner
fender liner needs to be cut. The removed section is roughly 2 ½”
x 3”. After cutting inner fender it can now be slid back into
place and the plastic fasteners can be reinstalled, installation
is now complete. |
|
NOTE: Rokmen
recommend removing sliders at least once a year to inspect and clean
both the body and the sliders. For harsher environments, inspect
more often. |
| |
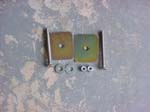
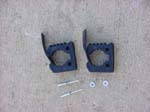
| Slider reinforcement: |
Installation
Warning – If you are also mounting accessories,
please consult the specific accessory directions below prior to
installing the reinforcements. There are certain rivet locations
that are used for mounting the accessories that should not be fastened
during the basic reinforcement install. |
| Basic Reinforcement
Mounting: |
1. Remove the three middle
bolts from the slider. It's easy to position the reinforcement and
see exactly which ones need to be removed.
|
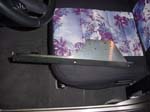 |
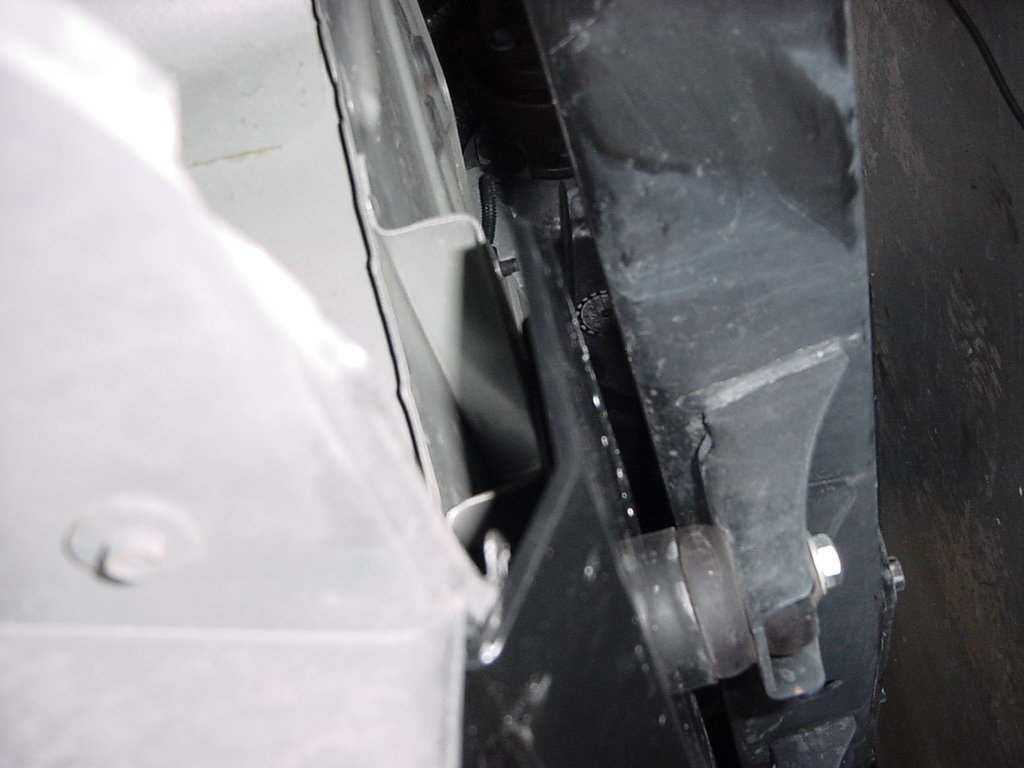
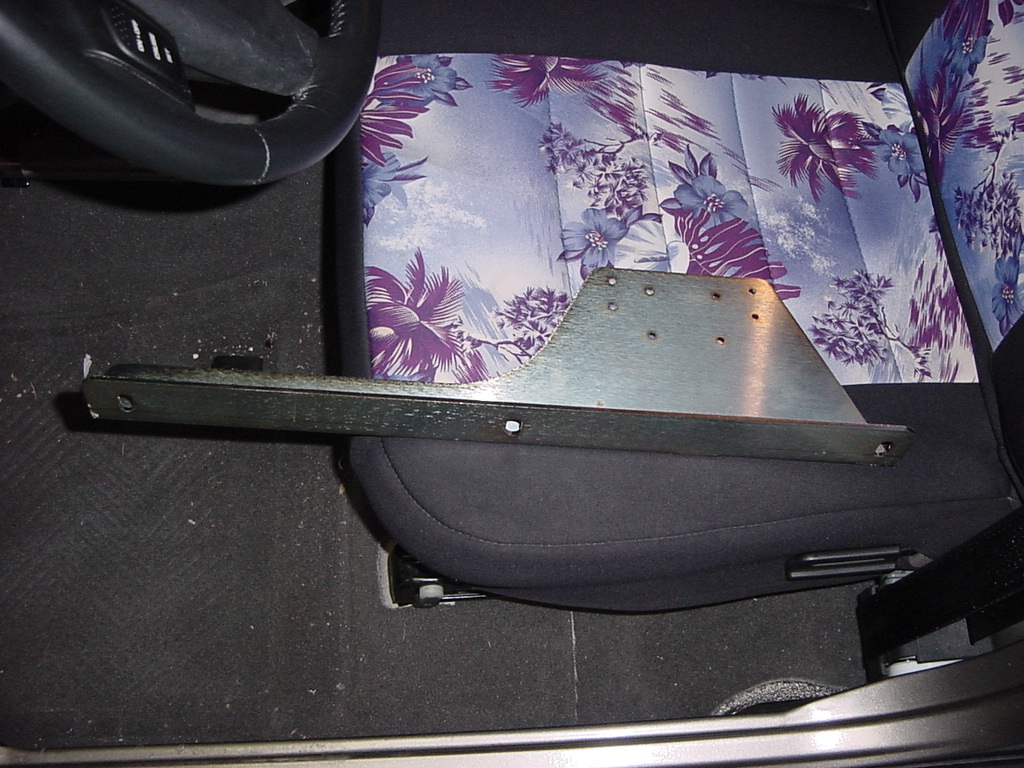
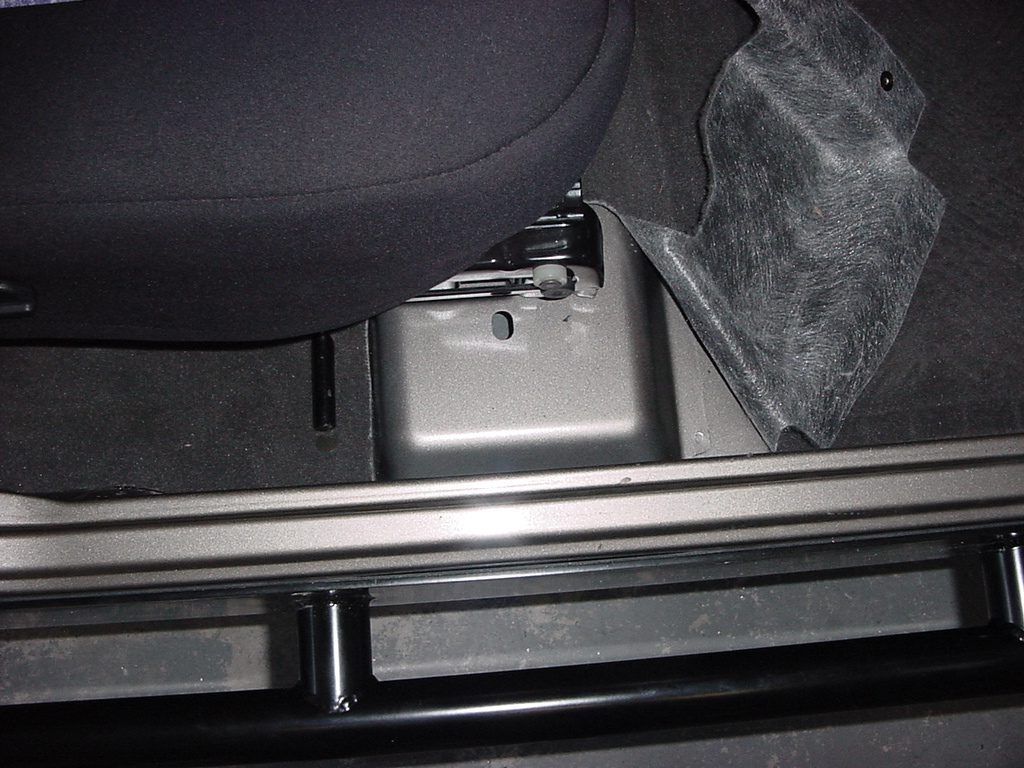
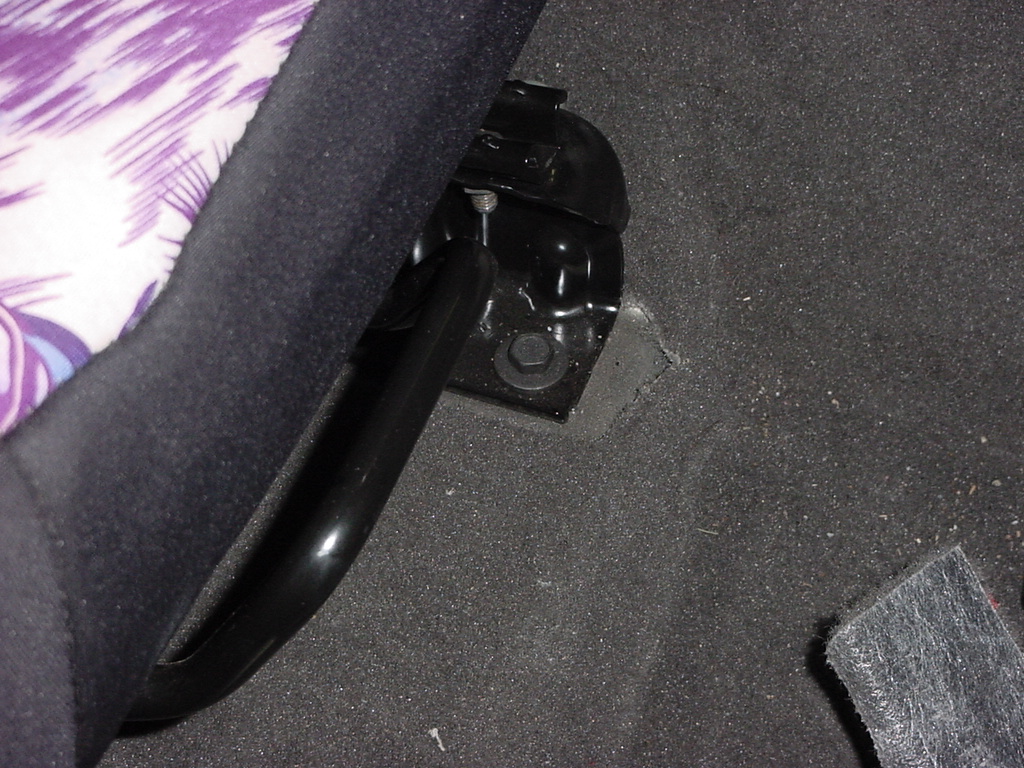
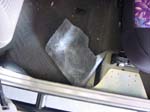
2. Pull your carpet aside
and position the reinforcement in place on the seat hump and against
the inside tub of the jeep. (It is easiest to loosen the outer front
seat attaching bolt about ¼”, to help make room to
slide the reinforcement into position.)
|
|
|
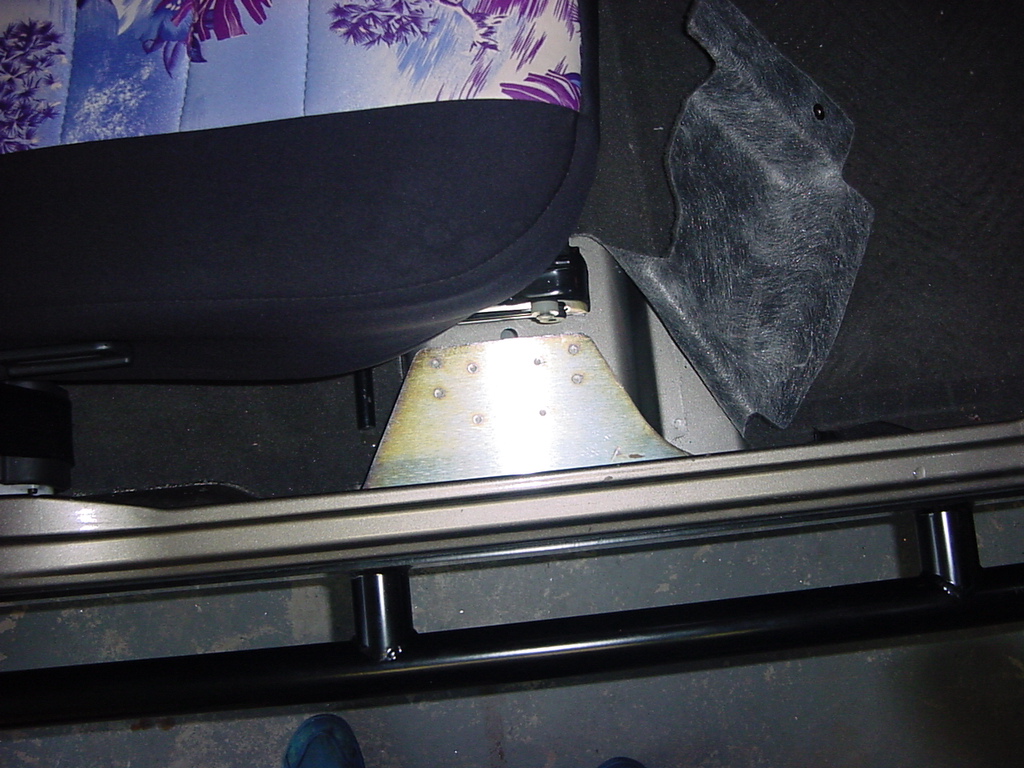
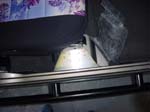
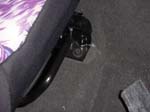
3. Tighten the slider bolts
through the reinforcement, hold the reinforcement against the seat
hump so it stays as flat as possible.
|
 |
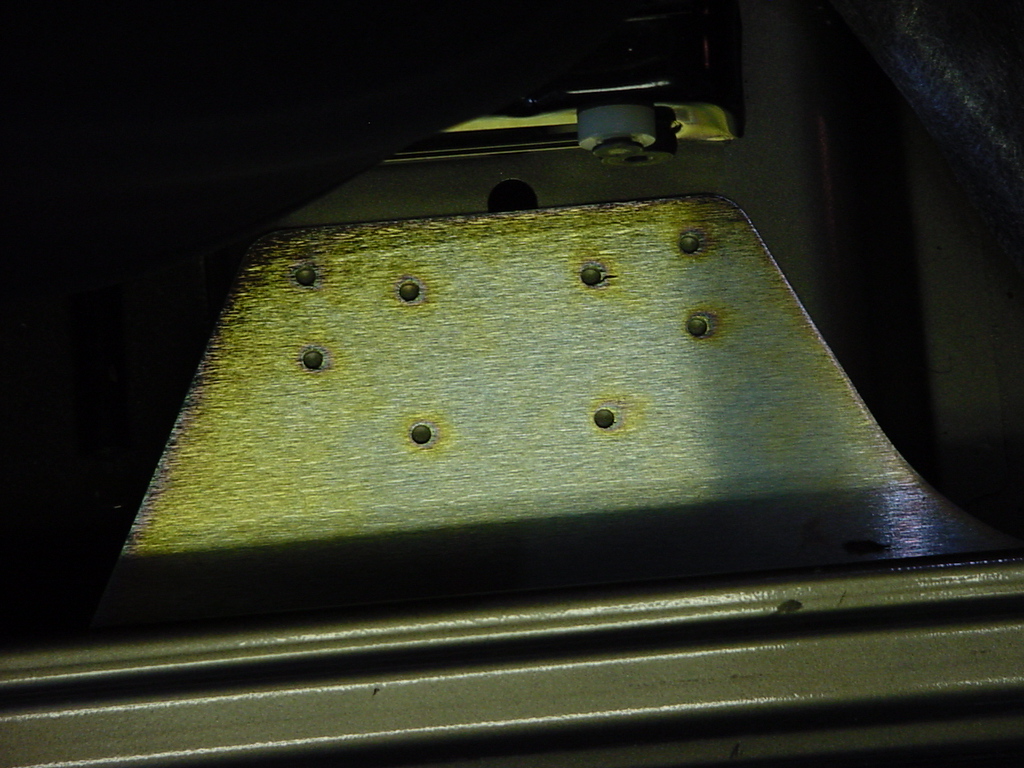
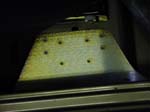
4. Using a 3/16” drill
bit, drill holes into the seat hump using the reinforcement as your
guide.
|
 |
5. Rivet each side down
using only the supplied hardware with the reinforcements. If you
are installing the flashlight holder or strap check the installation
instructions for those parts before installing rivets.
|
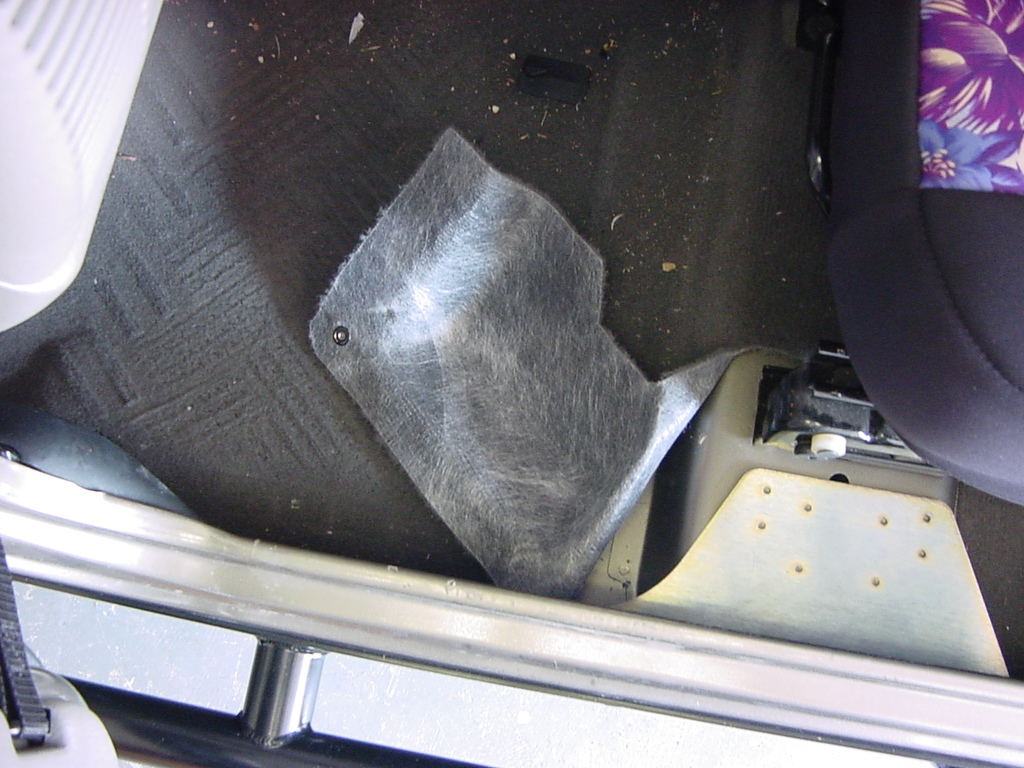
6. Trim your carpet to fit.
You can remove the whole upper piece that covers the seat hump,
or you can trim it so that it lays over the seat hump.
|
 |
 |
7. Re-tighten your seat
bolt that was loosened. |
 |
| |
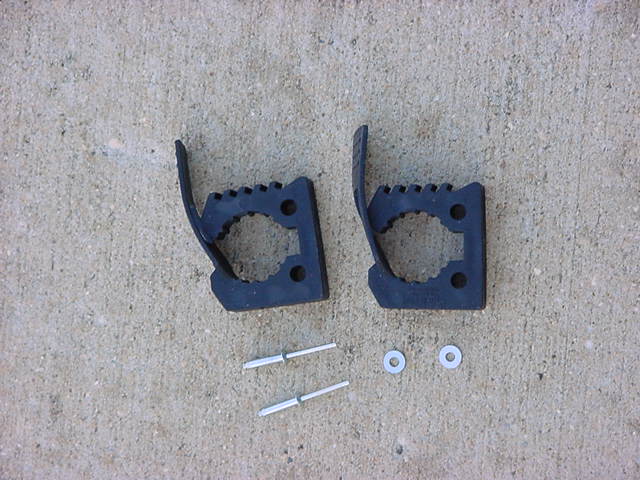
Flashlight mounting:
|
|
Flashlight can be mounted on
either the passenger of driver side reinforcement.
|
 |
1. The instructions have an
attached picture that shows two rivet locations highlighted in Red
– Do not install these two rivets. As these are the holes to
use for the flashlight mount.
|
2. Using only the hardware
in the HD flashlight mount kit, slip the washers on the rivets and
then the rivets through the mounts and fasten in the two read highlighted
holes.
Note – It’s best to mount the release straps facing the
door of your jeep. |