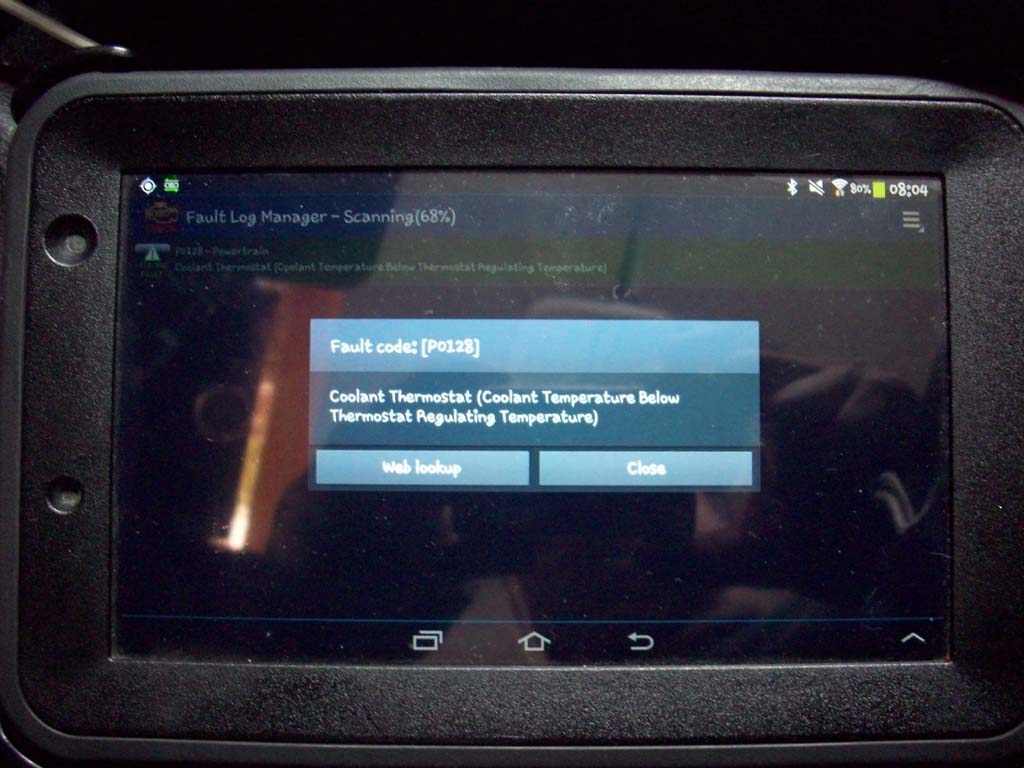
The first time the weather got cold around here I had the check engine light show up on the dash. So I looked up the code using my Torque App on my tablet to see what it was. P0128 Coolant Temperature Below Thermostat Regulating Temperature. My first thought was "bad thermostat", but with all the electronics involved now I needed to check things out a little bit more.
| |
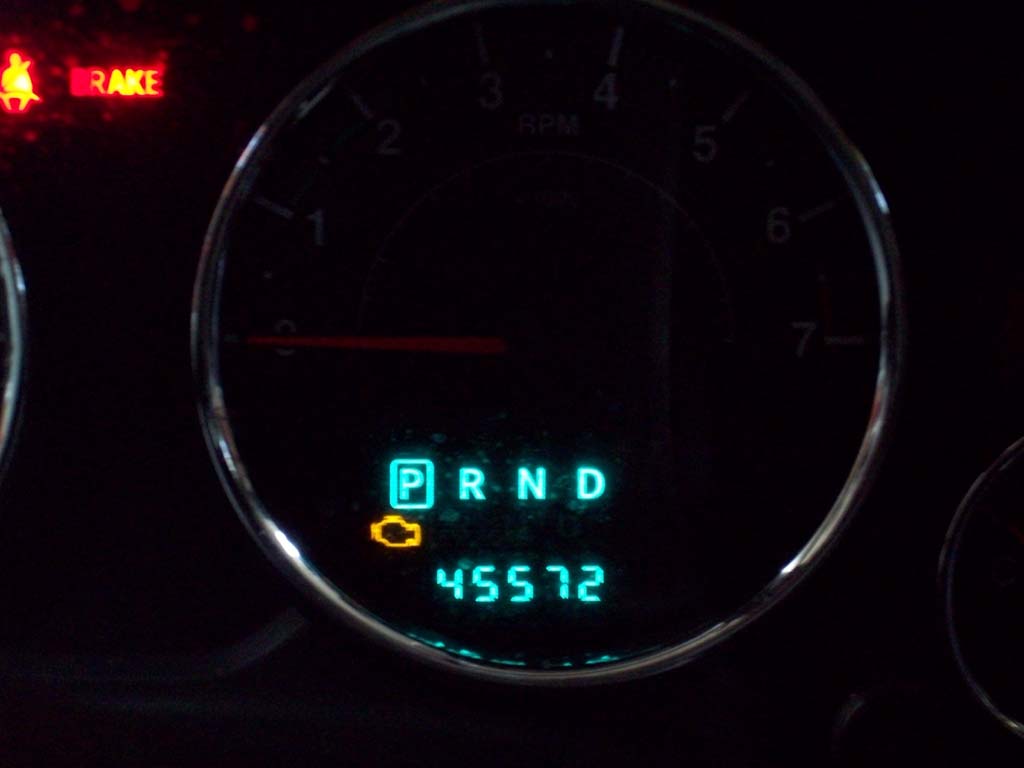
| Oh look the little red engine light on the dash. What's wrong this time.Most of the time it's my fault the light came on. |
 |
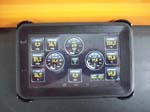
| P0128 code courtesy of the Torque App. |
 |
 |
| |
| Troubleshooting: |
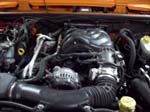
First thing I went and found out was what temperature does the thermostat open up at for the Jeep. Kind of important to know when you are troubleshooting.
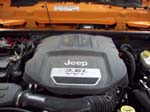
On the 3.8L the thermostat is set for 176 degrees. (Not 100% certain on this one)
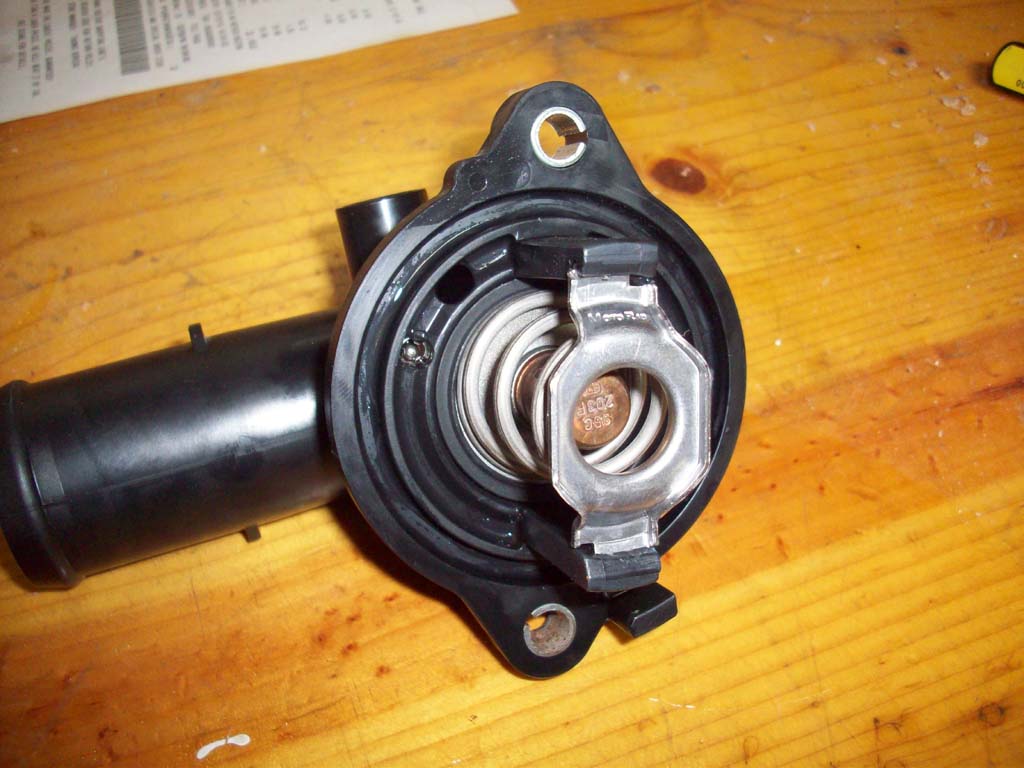
On the 3.6L the thermostat is set for 204 degrees. Though a couple references say 196, and a few replacements say 210 degrees. My thermostat did have a 95c stamped on it which corresponds to the 204 degree reference.
|
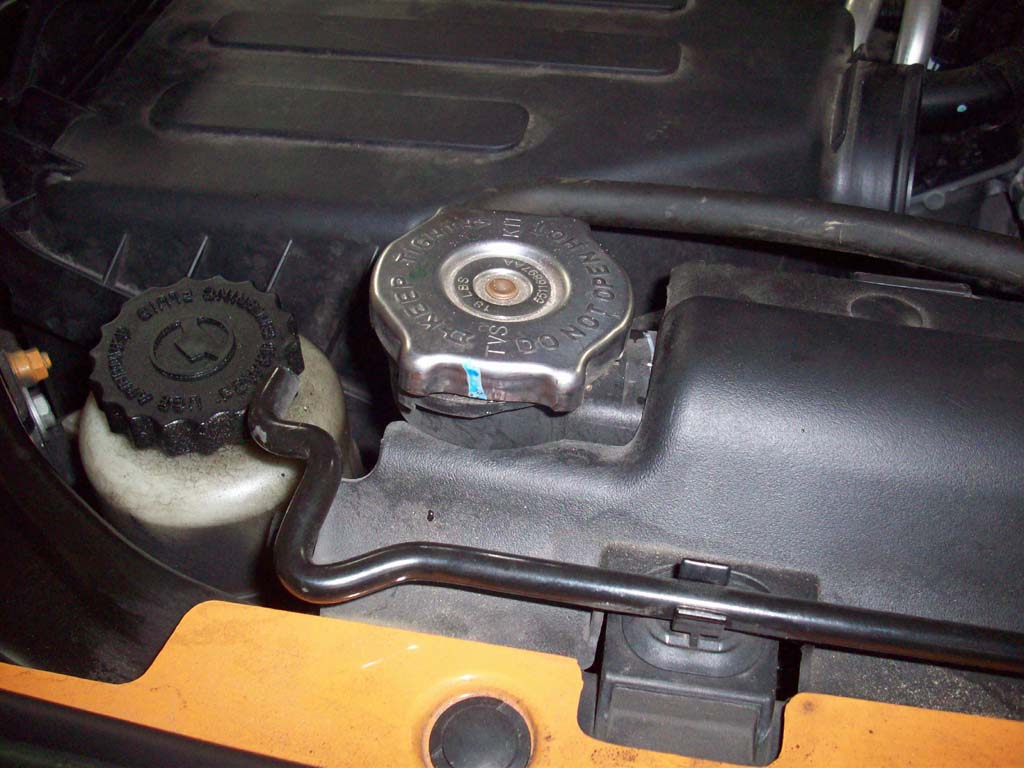
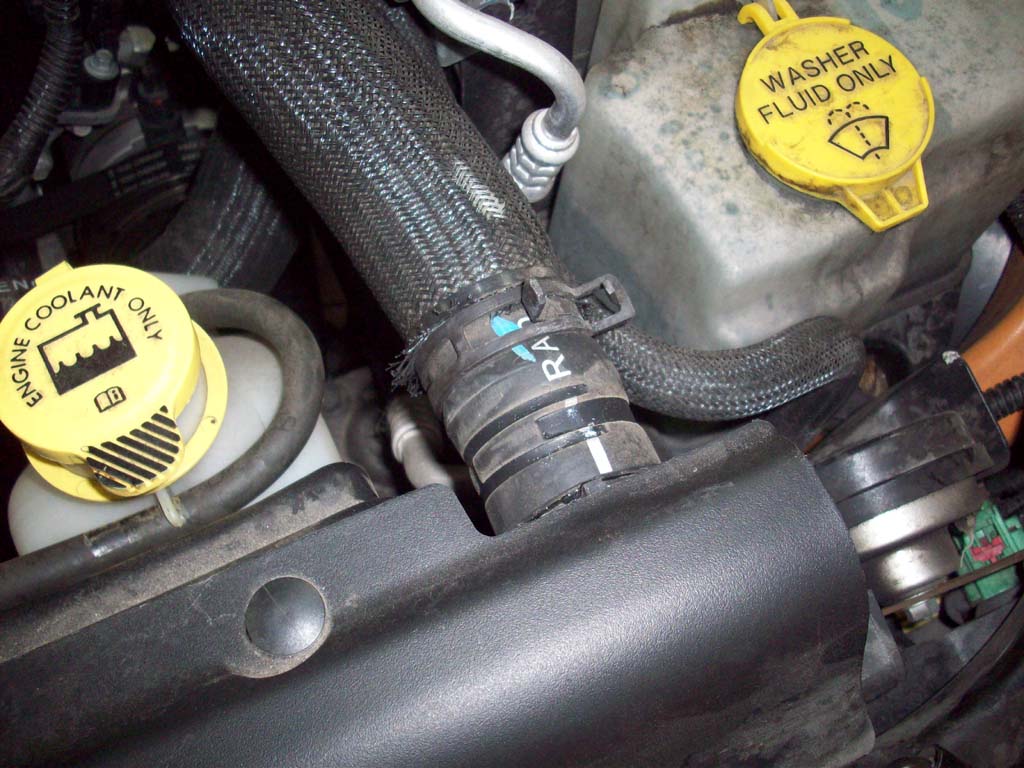
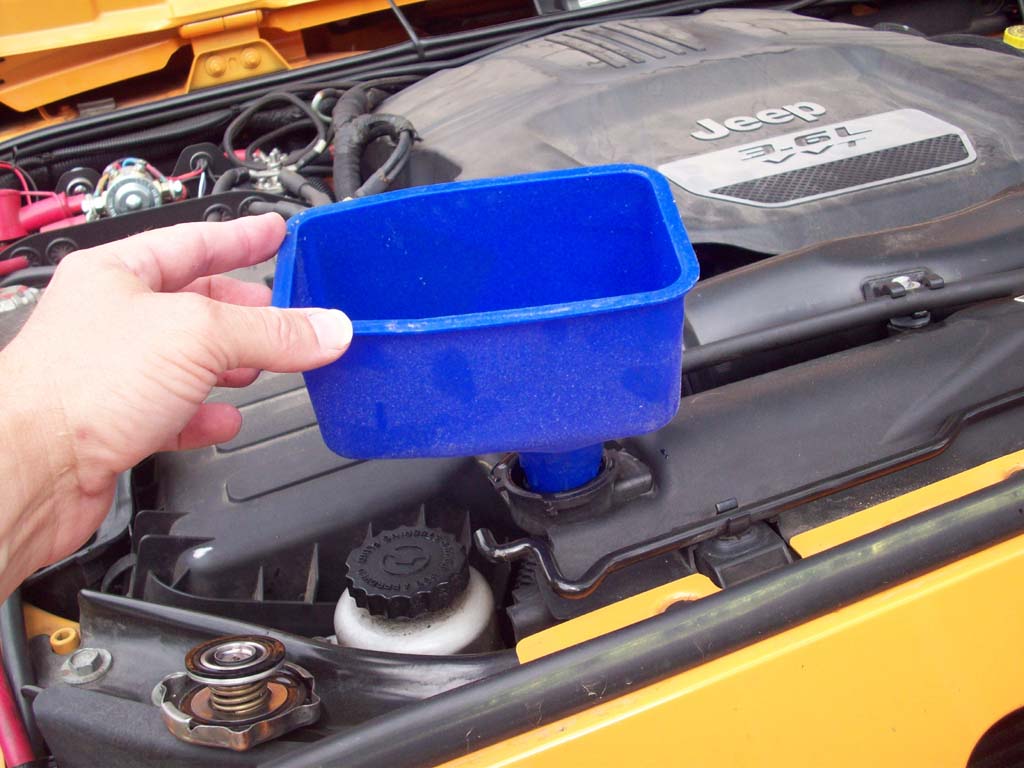
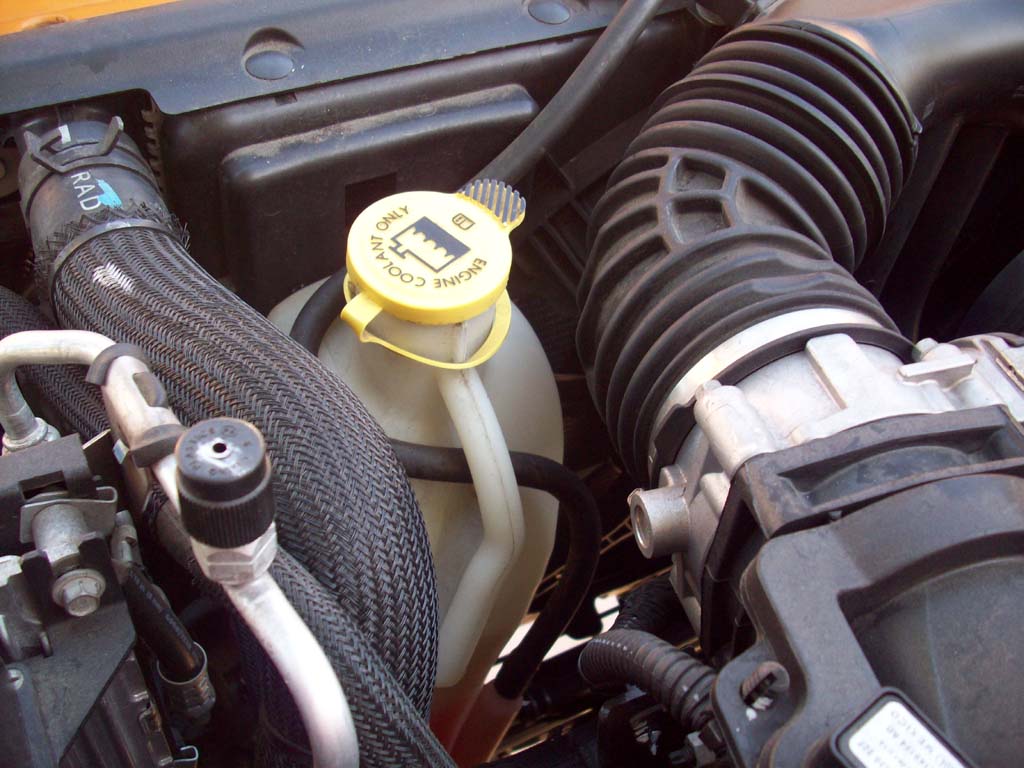
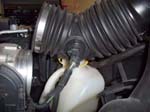
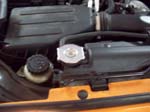
| Check the engine coolant level. Pretty simple just by looking at the level in the bottle. You might need to shine a flashlight into the bottle since they get a little discolored with age. |
 |
 |
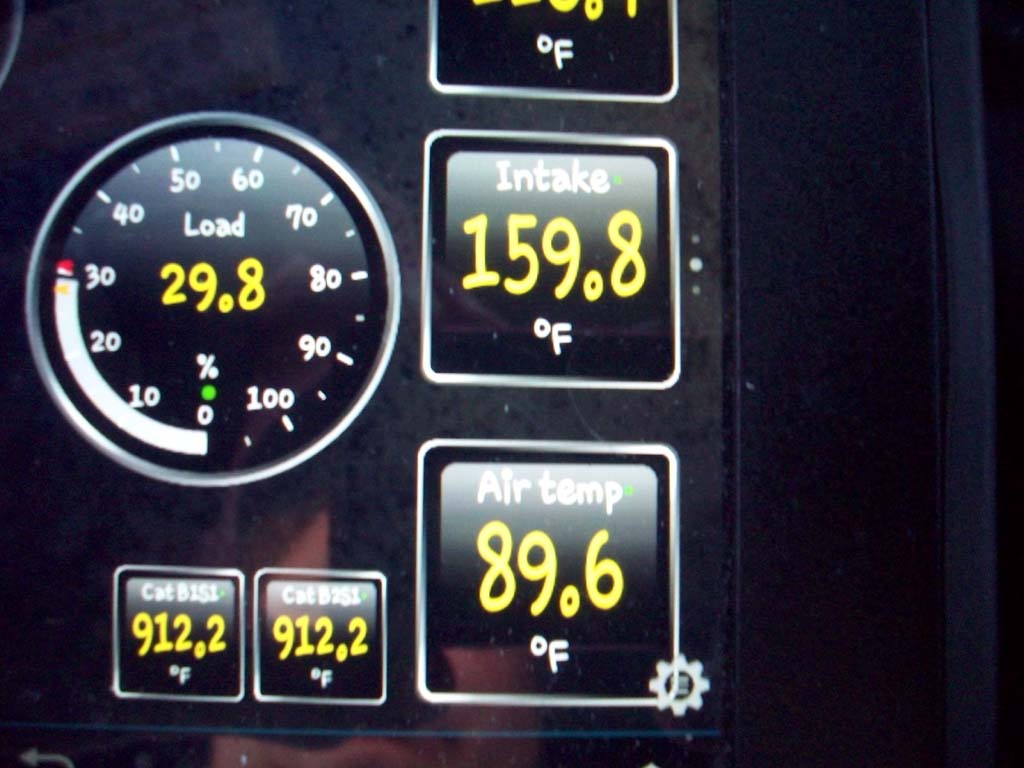
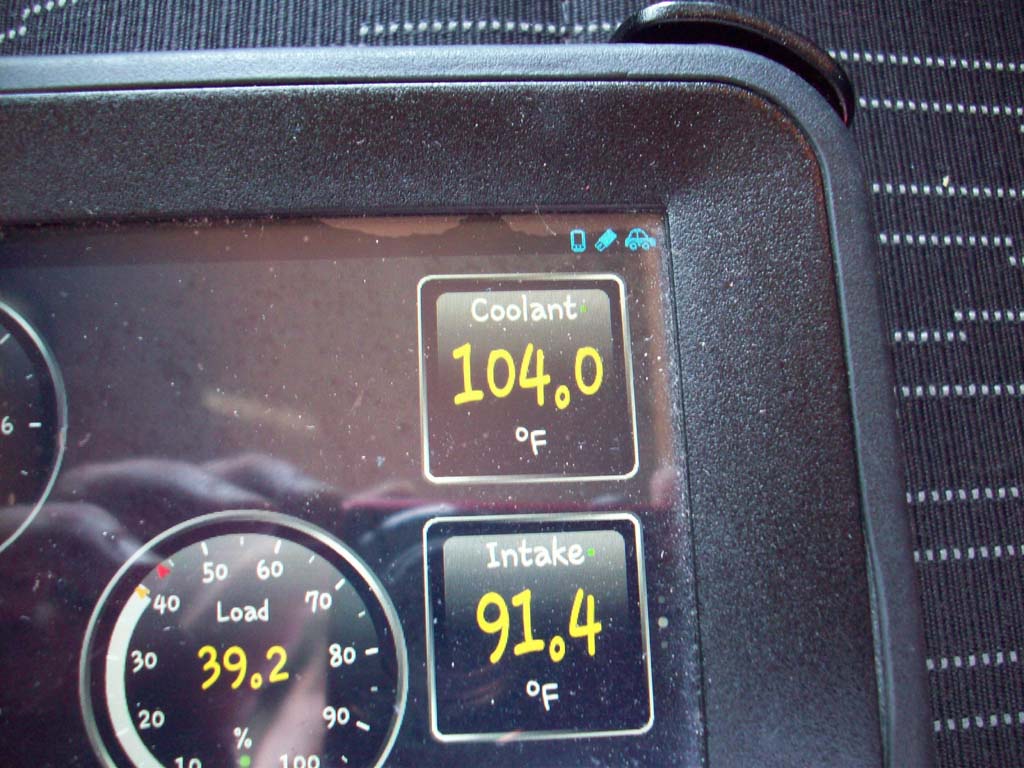
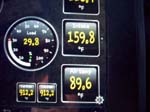
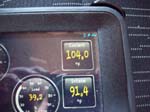
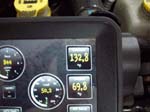
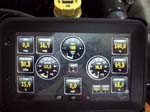
| Time to check the sensors. Nice thing about having the Torque App on my tablet, is I can see the sensor reading for Engine Coolant Temperature (ECT) and Intake Air Temperature (IAT). So I started the Engine and checked these two sensors. Both of these tracked. The coolant temperature slowly rose. |
 |
 |
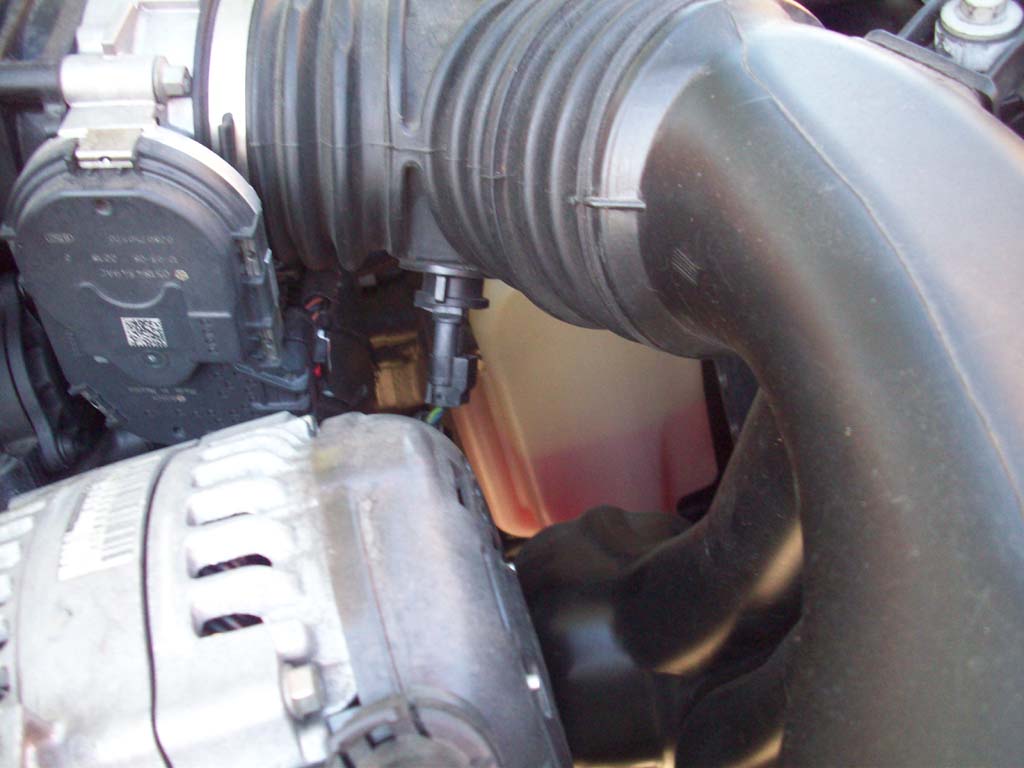
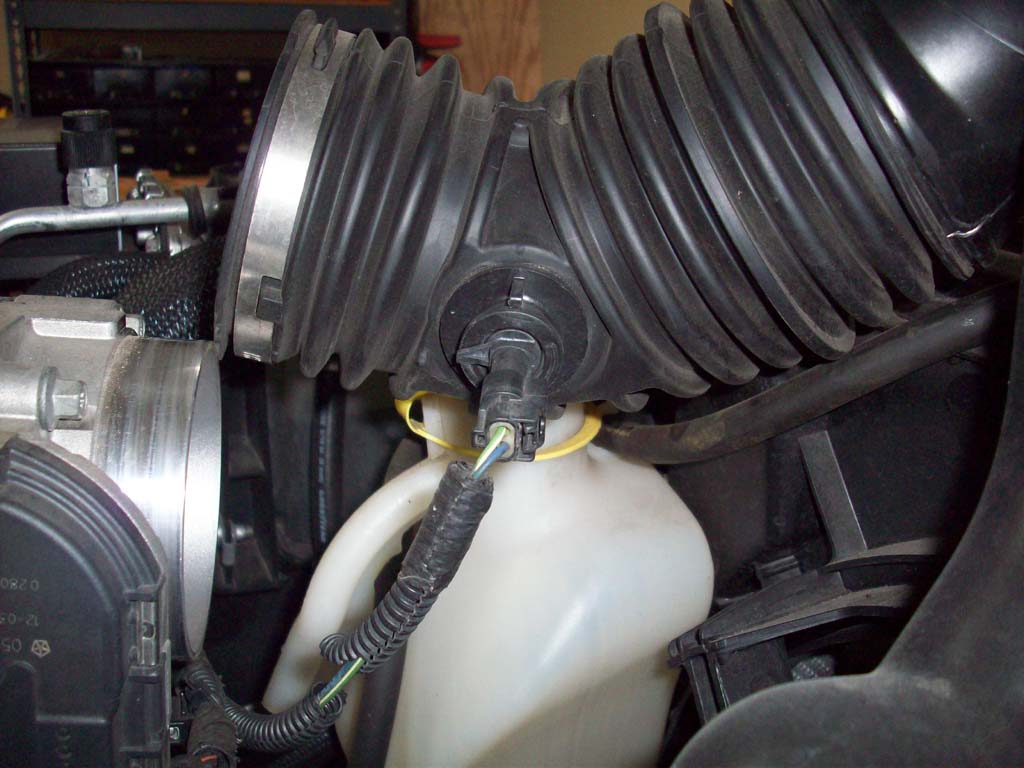
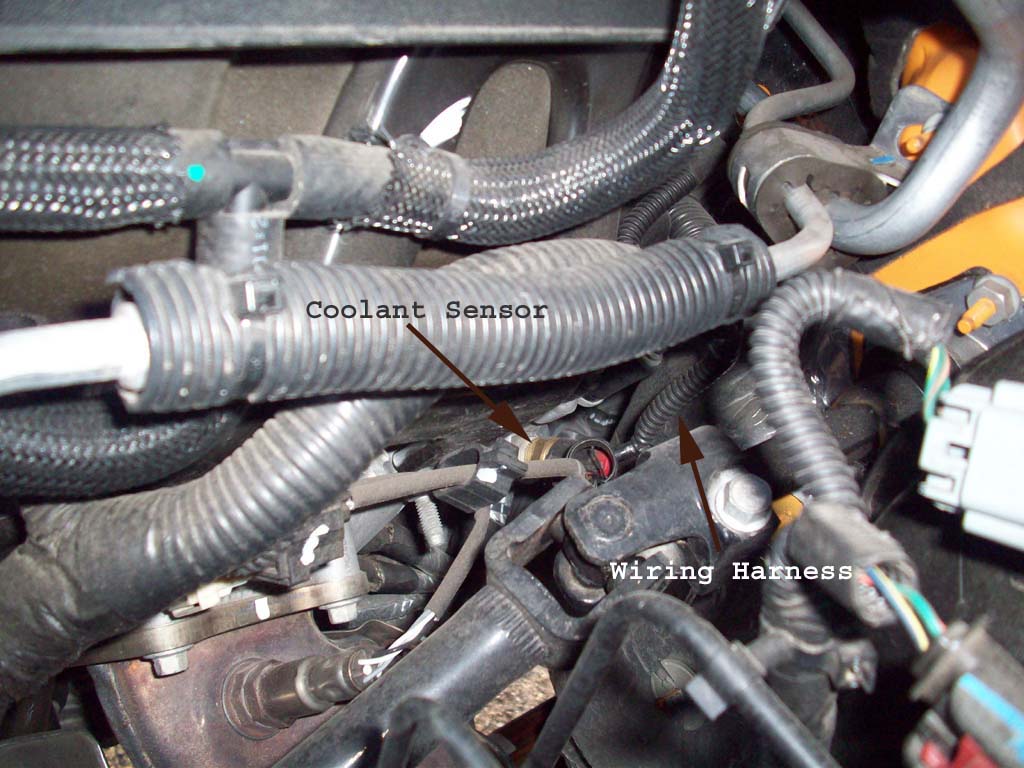
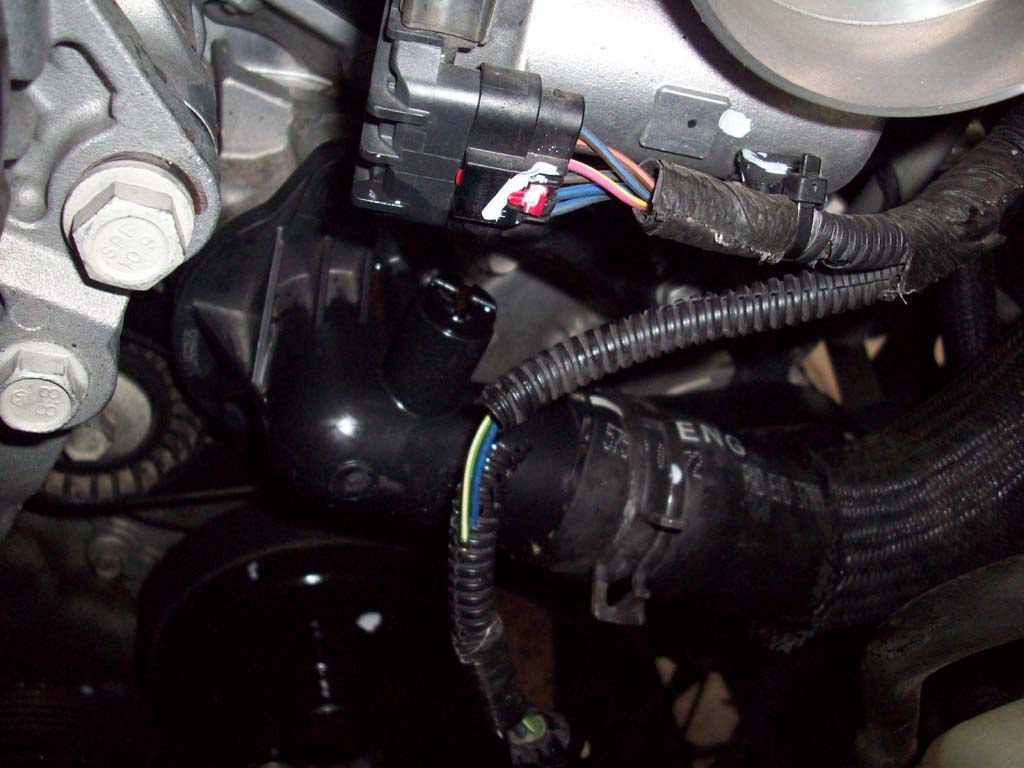
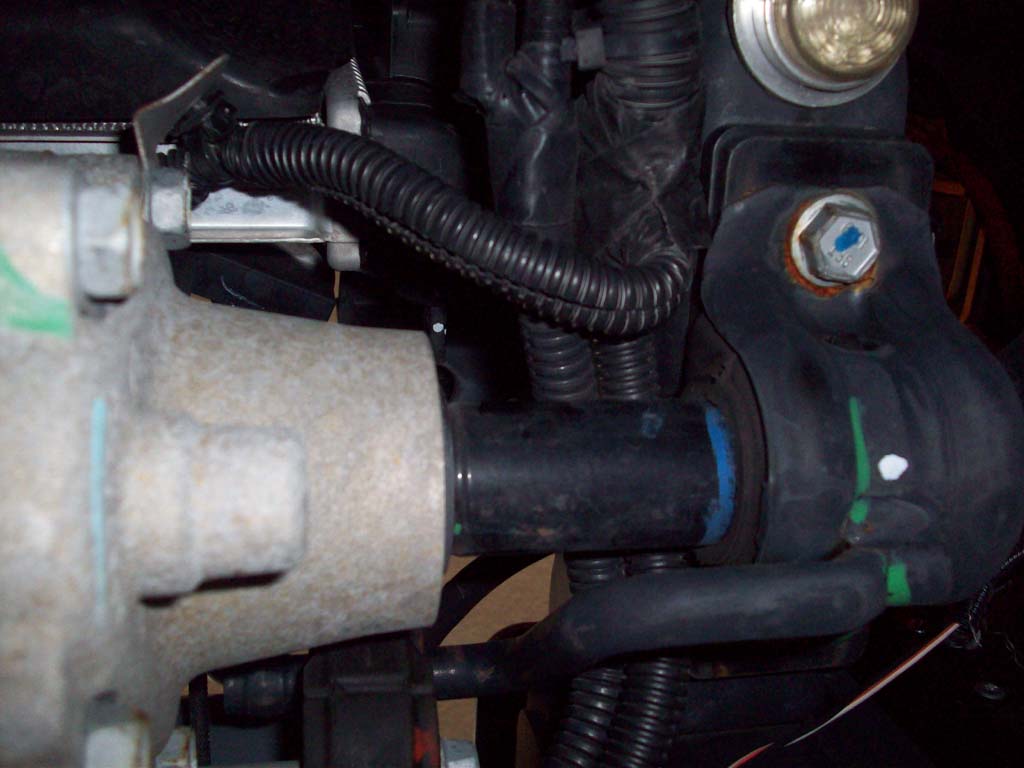
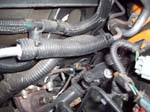
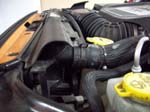
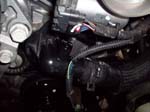
| If you don't have a reading on either of these then physically check the sensors. The IAT is under the intake tube near the throttle body. The ECT is on the back left side of the engine (brake booster side). You want to make sure they haven't become disconnected, or have a broken wiring harness. I noted that my IAT sensor had a damaged shroud around the wiring that needed to be replaced. |
 |
 |
| Cooling fan running too much. It didn't come on right away, and stayed off until the engine temperature got up to temperature. |
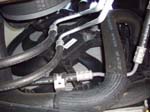 |
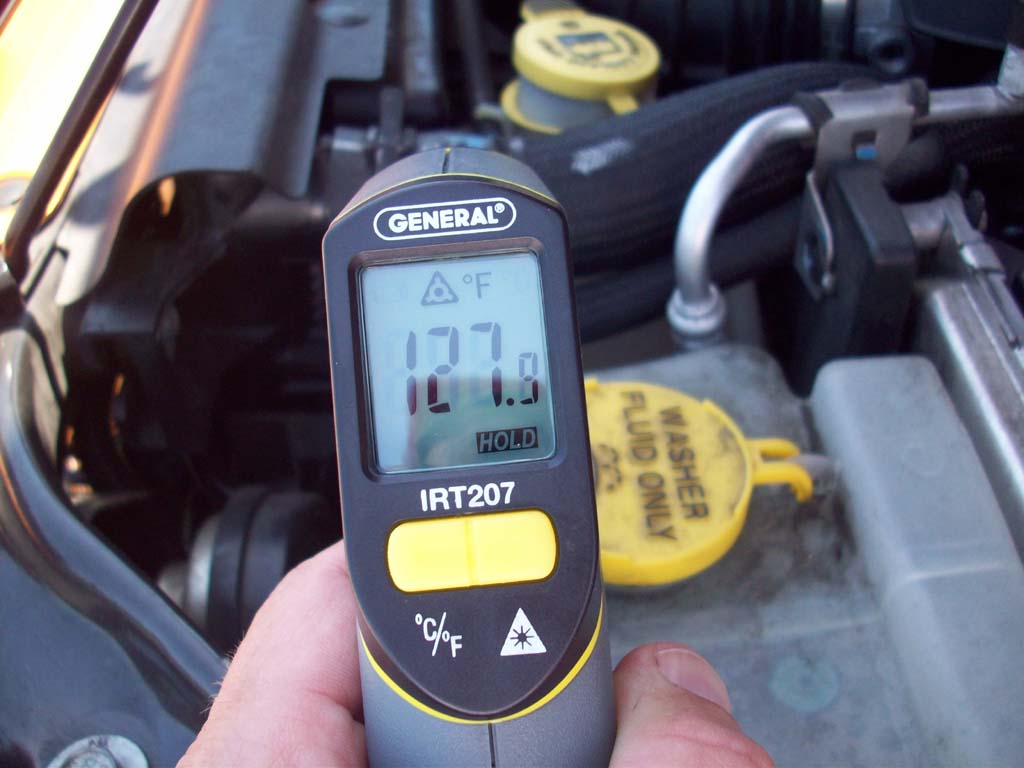
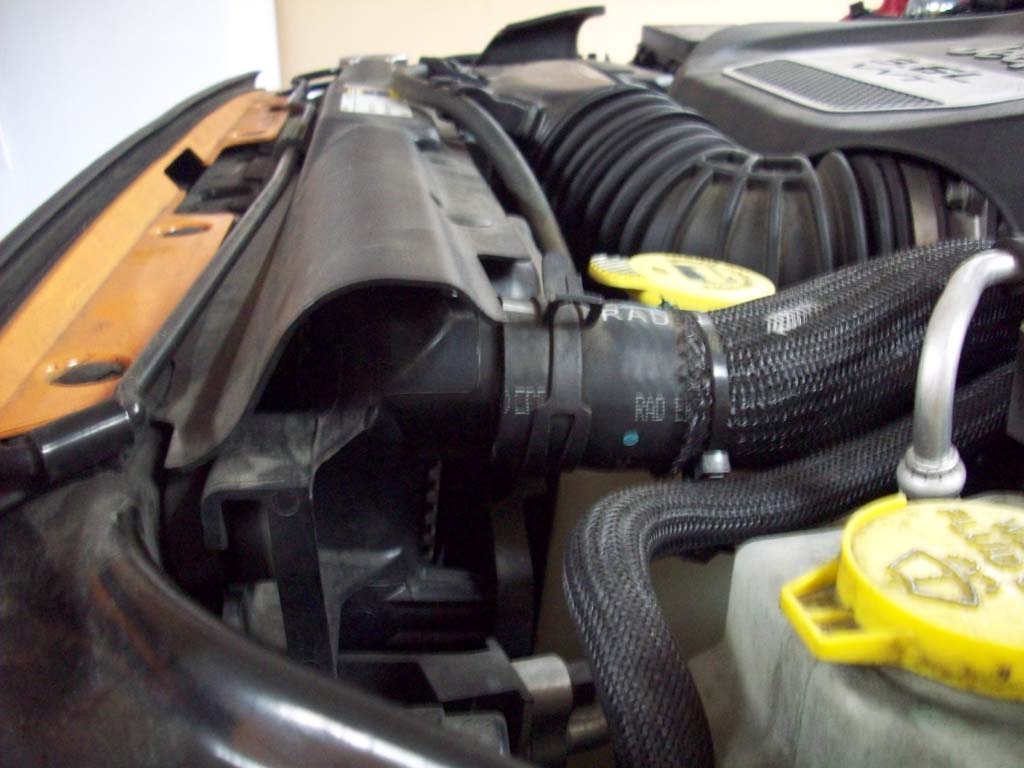
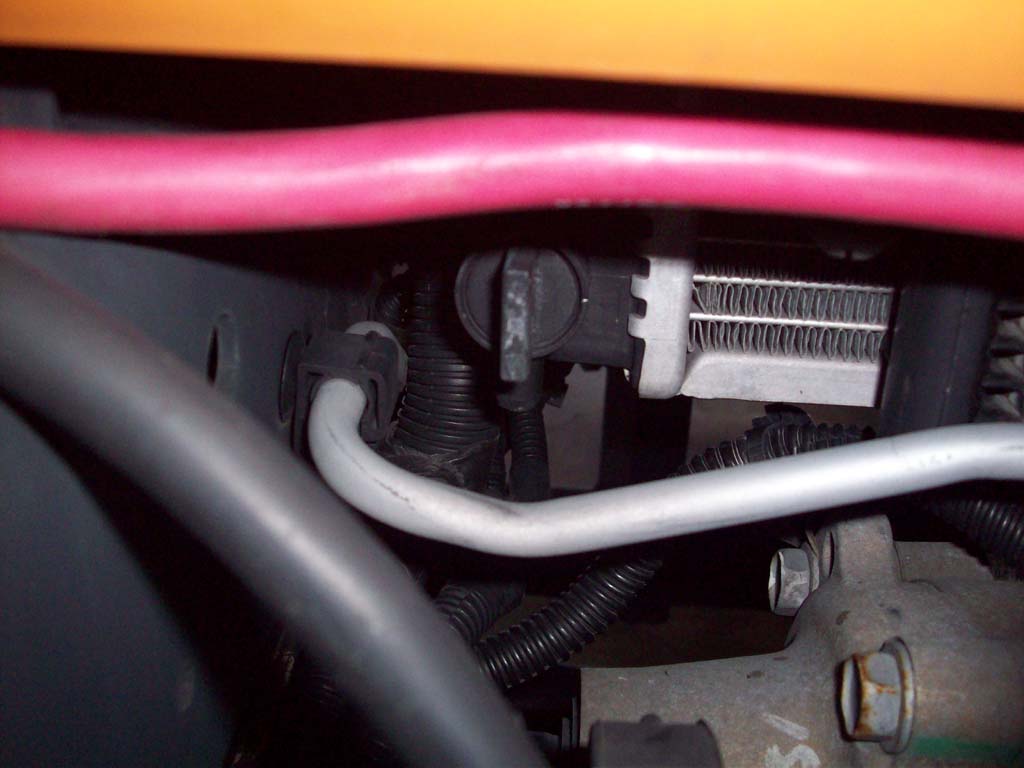
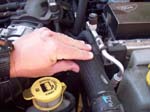
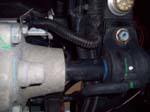
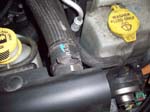
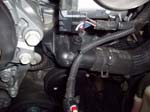
| Checking the Thermostat. Since pretty much everything else had been eliminated at this point, I started checking the upper radiator hose from the thermostat. If it was stuck open the hose should be just as hot as the Coolant Temperature sensor reading. It wasn't open yet. |
 |
 |
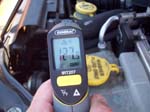
| Keep checking to see when it opens. Mine opened at 177 degrees. 20-30 degrees lower than it should have opened. I think I found my culprit. |
 |
 |
 |
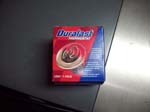
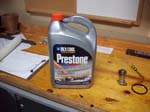
| Off to get some parts: Thermostat and some radiator fluid if you need it. |
 |
 |
 |
| Now shut the engine off and let everything cool down. You don't want to be working on a hot engine with hot coolant. I just left mine till the morning. |
| |
| Replacing the thermostat: |
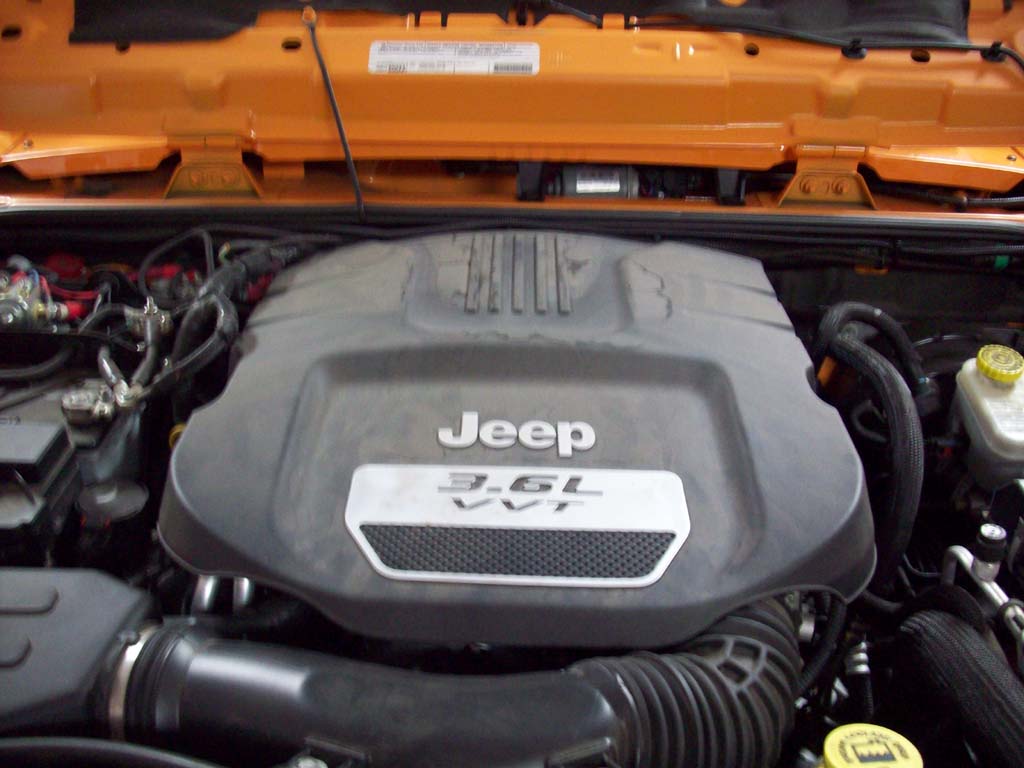
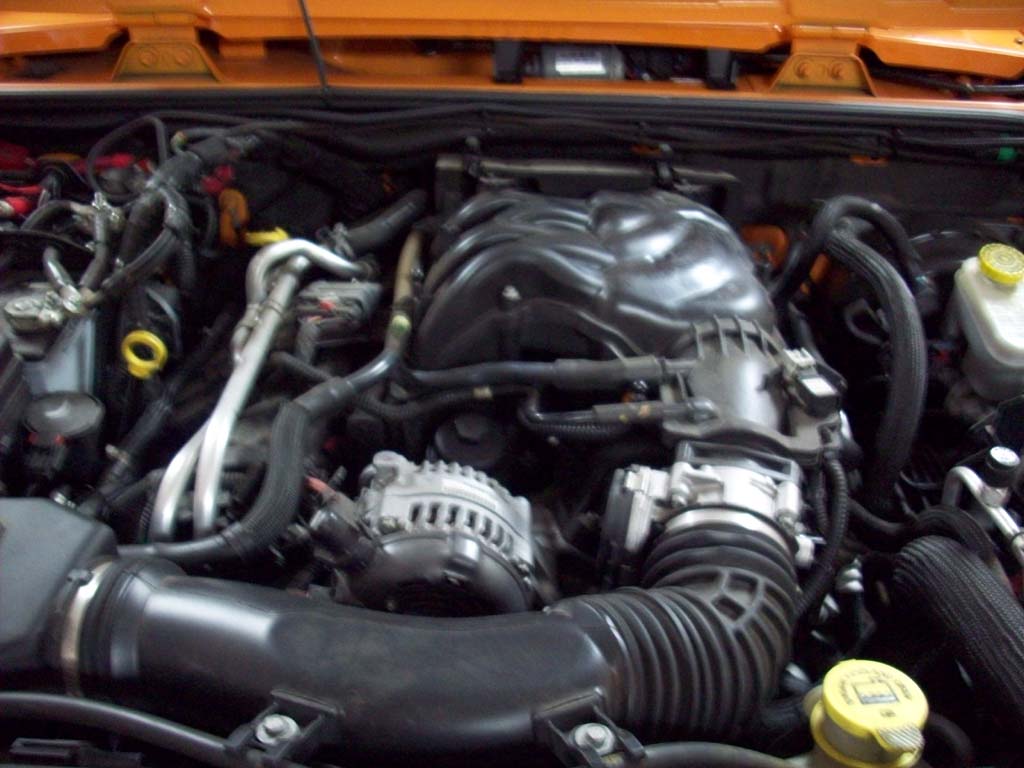
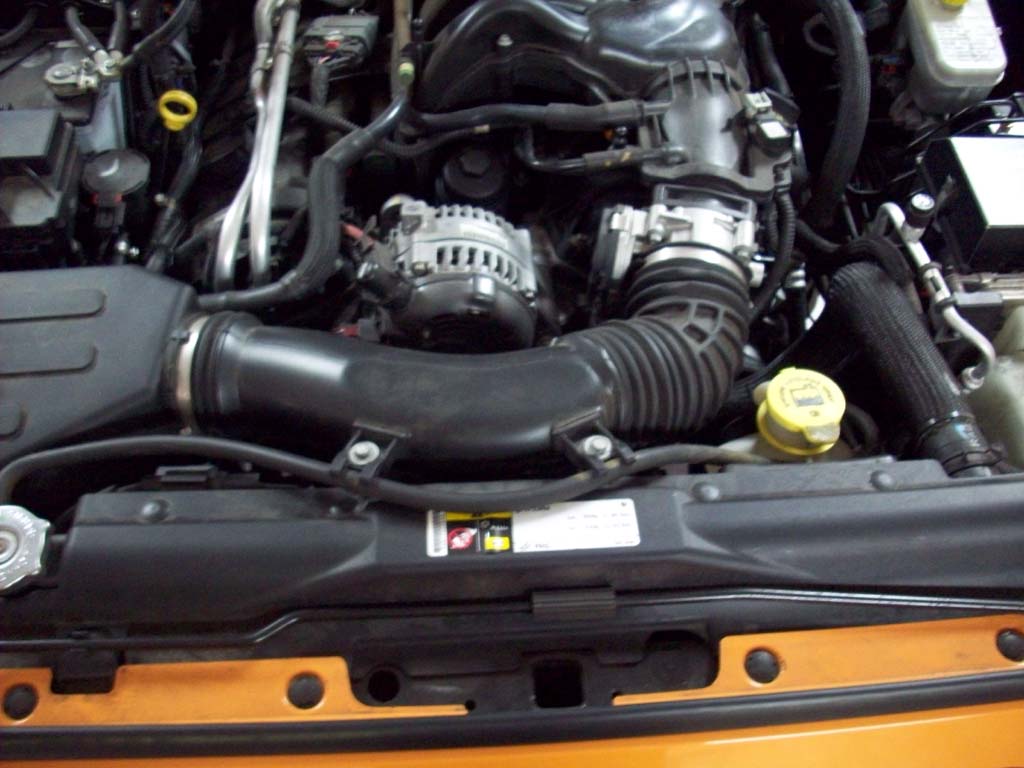
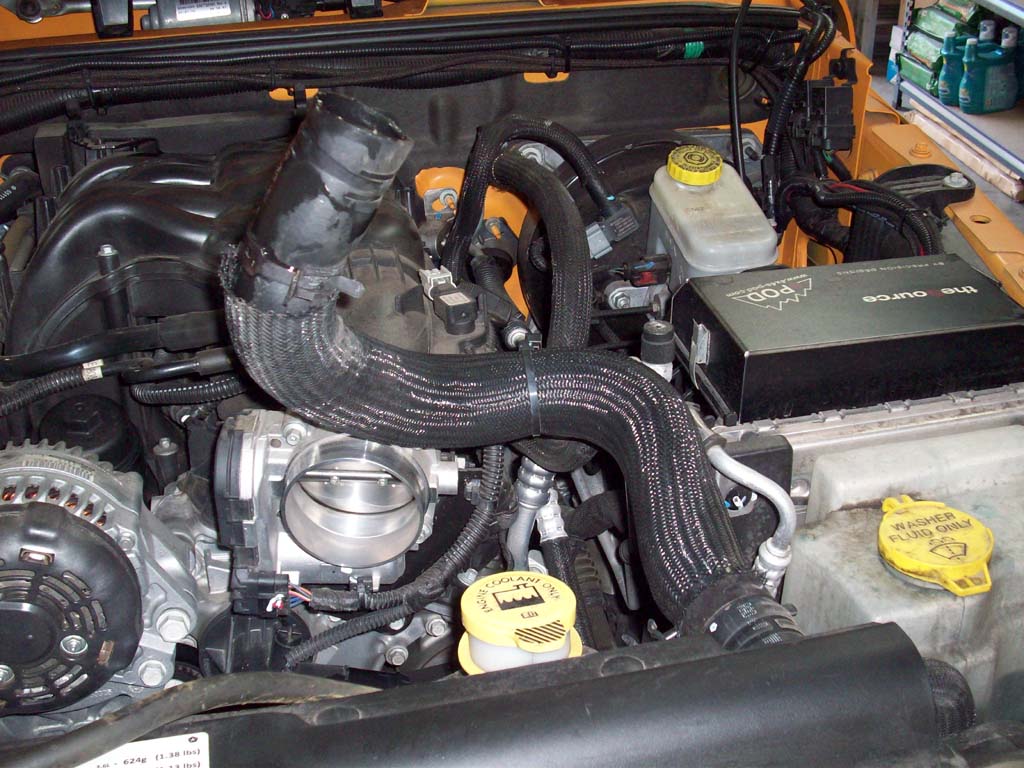
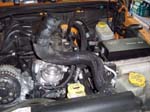
| 1. It's actually fairly easy to change out the thermostat. Just a little messy. Remove the engine cover. It just lifts up and then pulls forward. |
 |
 |
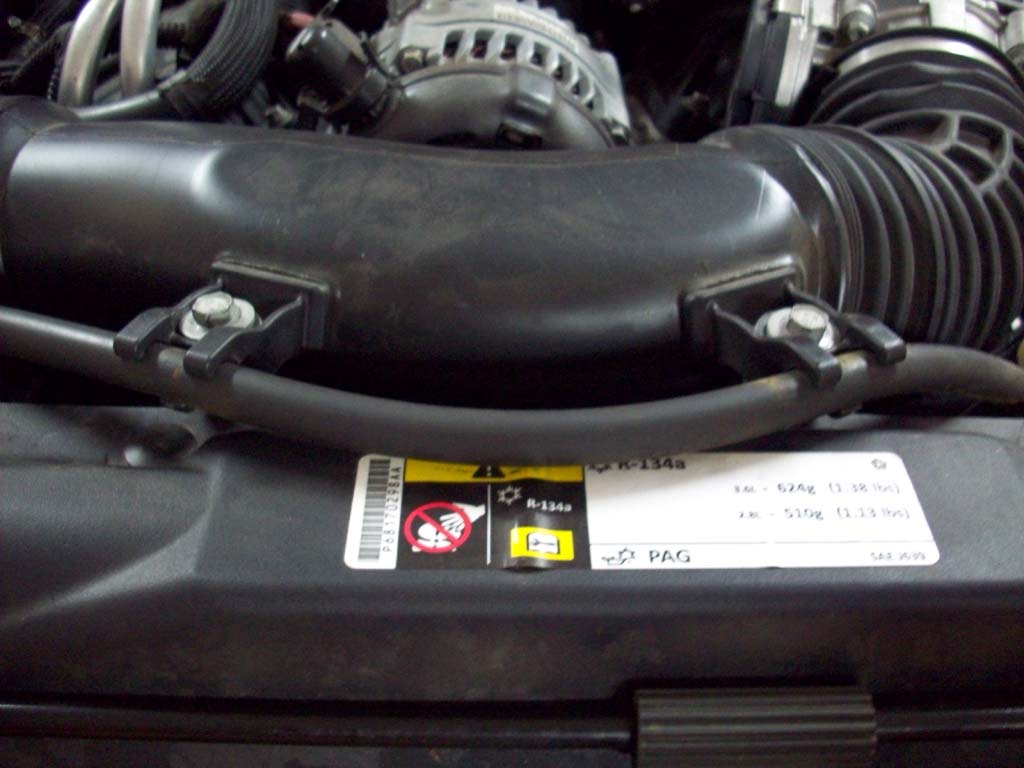
| 2. Remove the air inlet tube. Unscrew the two (2) bolts using a 10mm socket. |
 |
 |
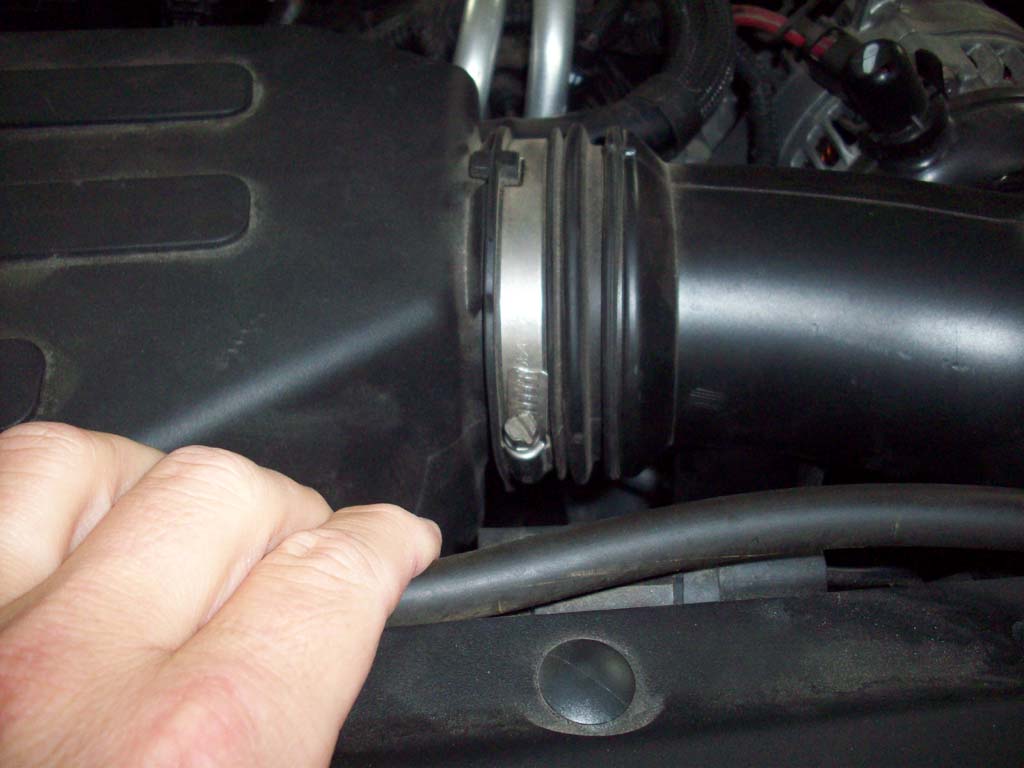
| 3. Pull the rubber radiator overflow hose out of the two (2) clips. |
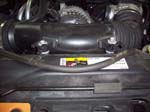 |
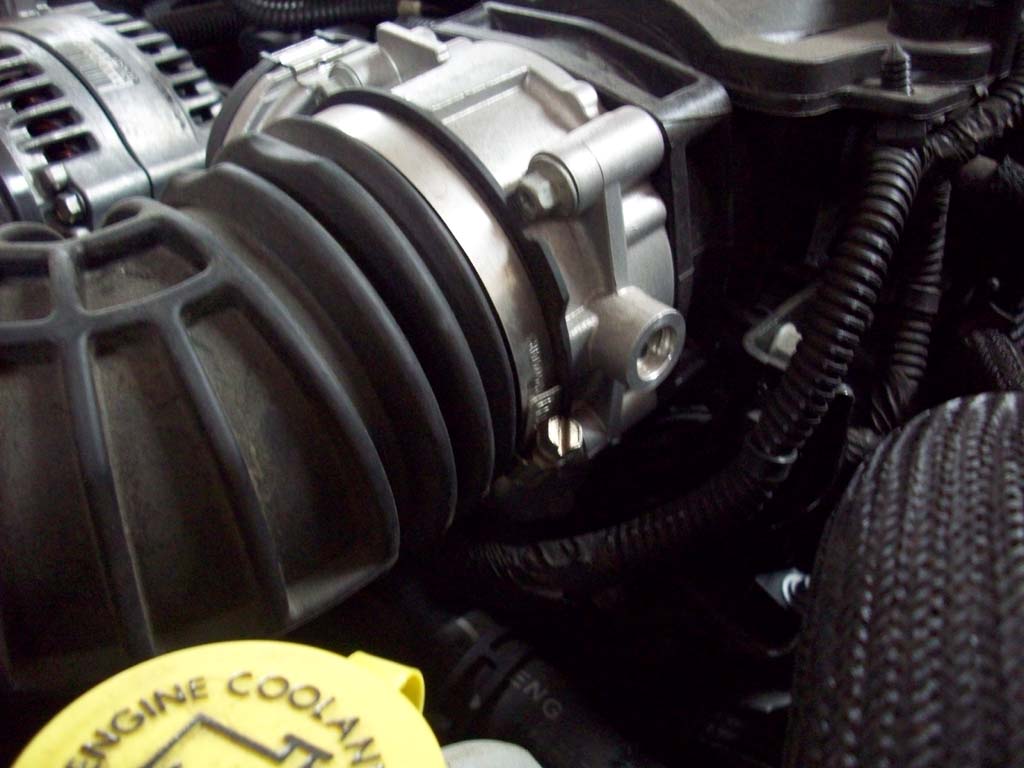
| 4. Use a flat tip screwdriver to loosen the two (2) hose clamps holding the intake tube to the throttle body and air box. |
 |
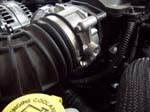 |
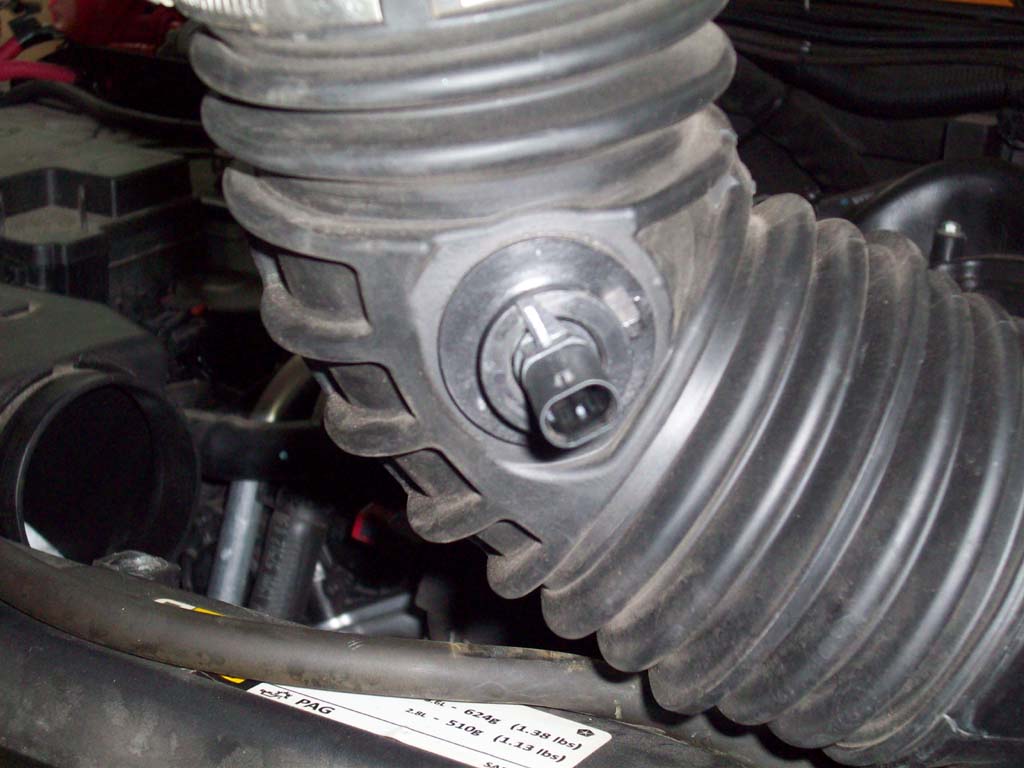
| 5. Carefully lift the hose until you can get to the IAT sensor on the bottom of the Intake Air Tube. Disconnect the harness by pressing the clip and slowly wiggling it off. Mine was really stuck on their. |
|
 |
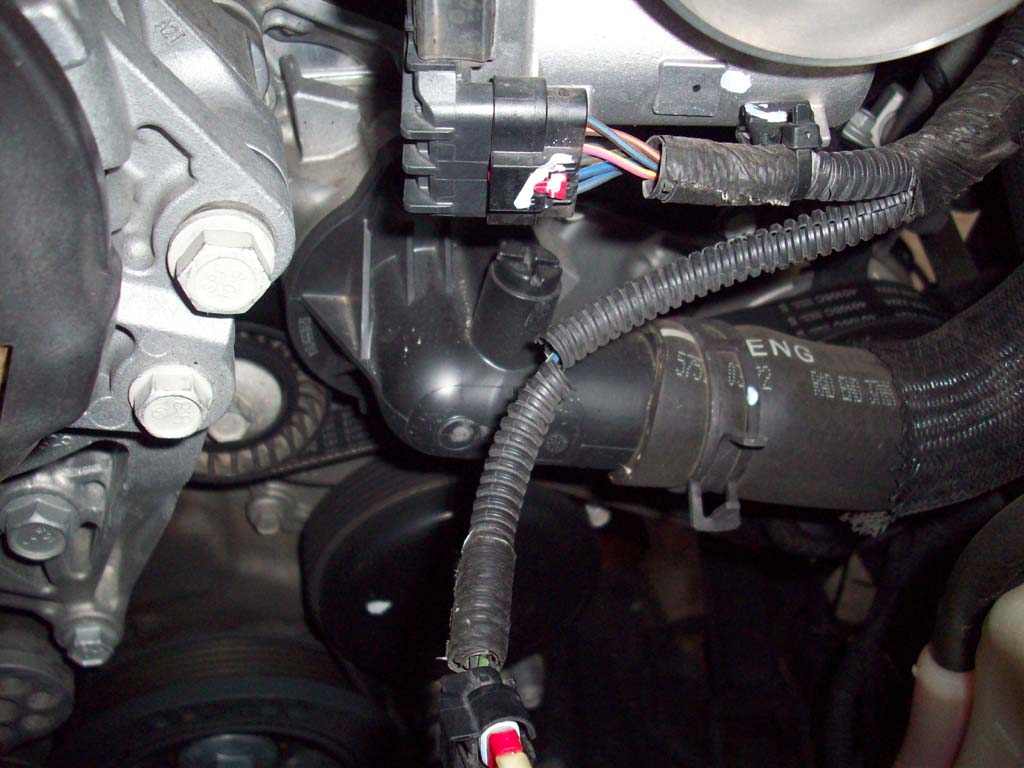
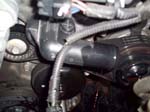
| Take a good look at the wiring going to this sensor. It kind of lays against the upper radiator hose so the shroud gets hot. The wire loom protecting mine had gotten hard and broke away so I will need to install a new section. |
 |
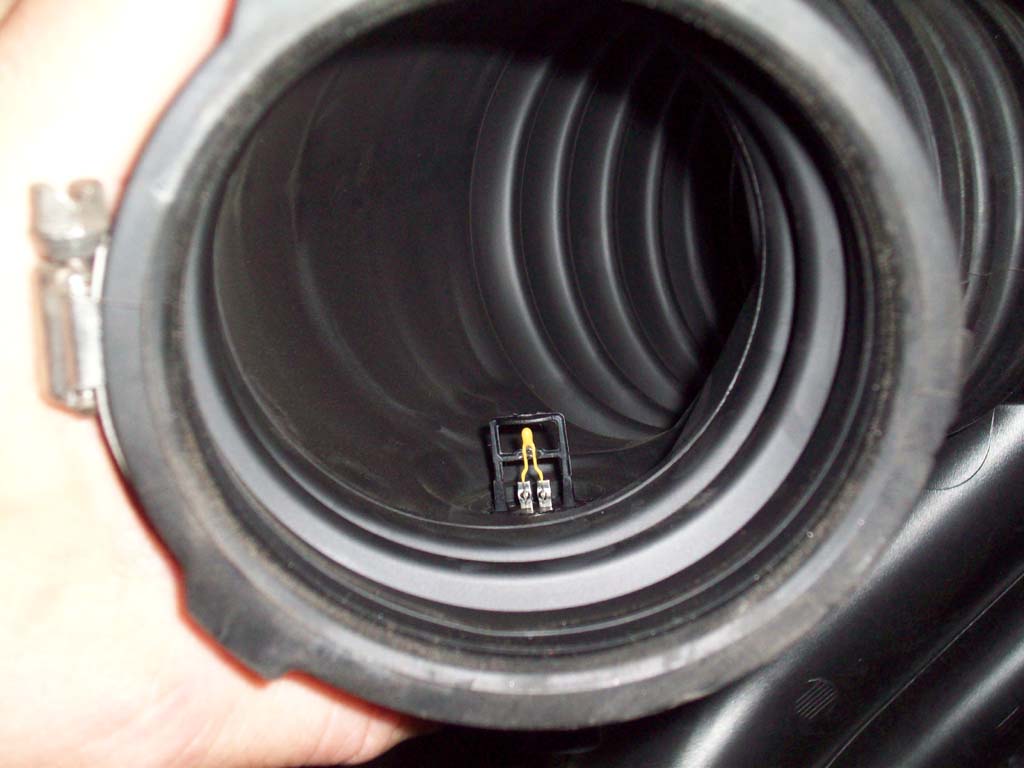
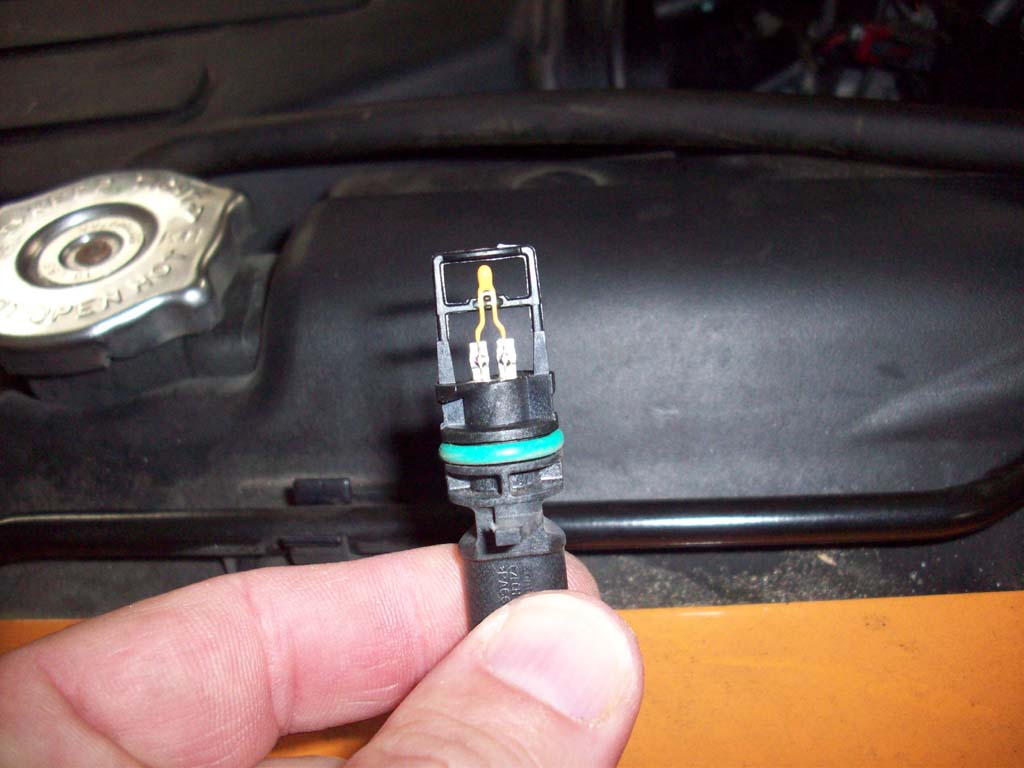
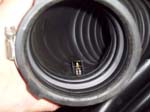
| 6. Inspect the IAT sensor in the intake. Not much to look at, but good time to make sure it's not broken or caked full of stuff. I pulled mine out to show you better. Mine had a little tab to lift and then it rotated out. Becareful if you go to remove yours they are in there pretty good. |
 |
 |
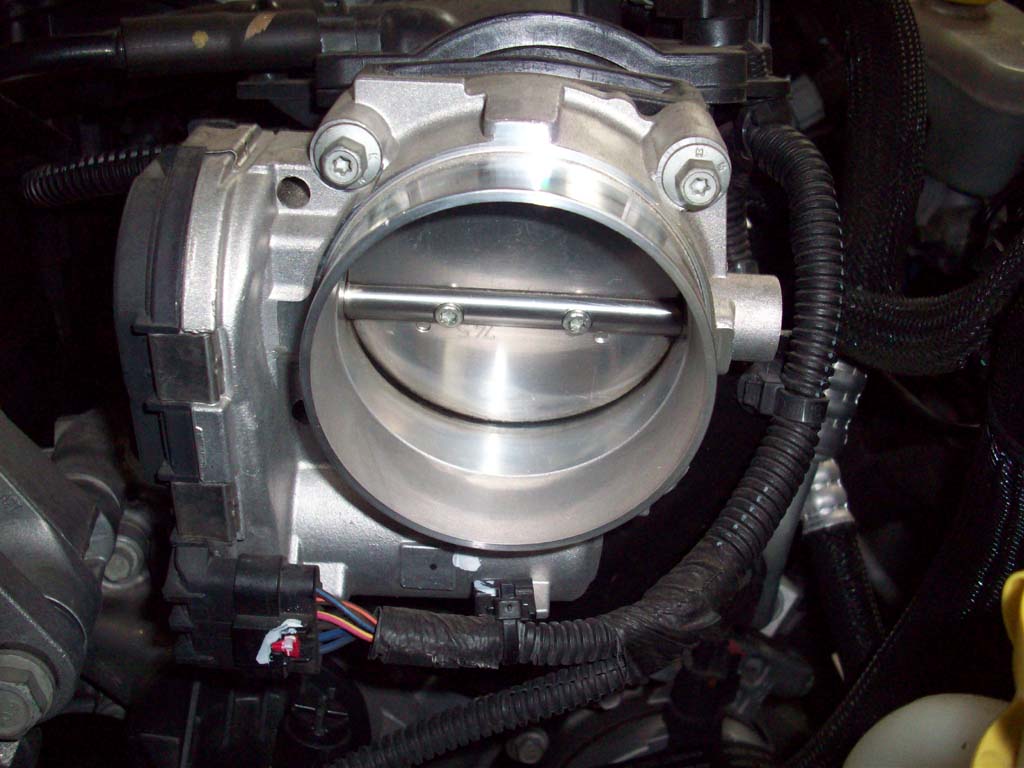
| 7. Take a look at your throttle body. I wasn't to surprised that I had a film of oil on the throttle body and butterfly valve. I had been running a K&N filter for a while. You can wipe it off, just use a lint free rag and be careful. Don't blow it down with air. |
 |
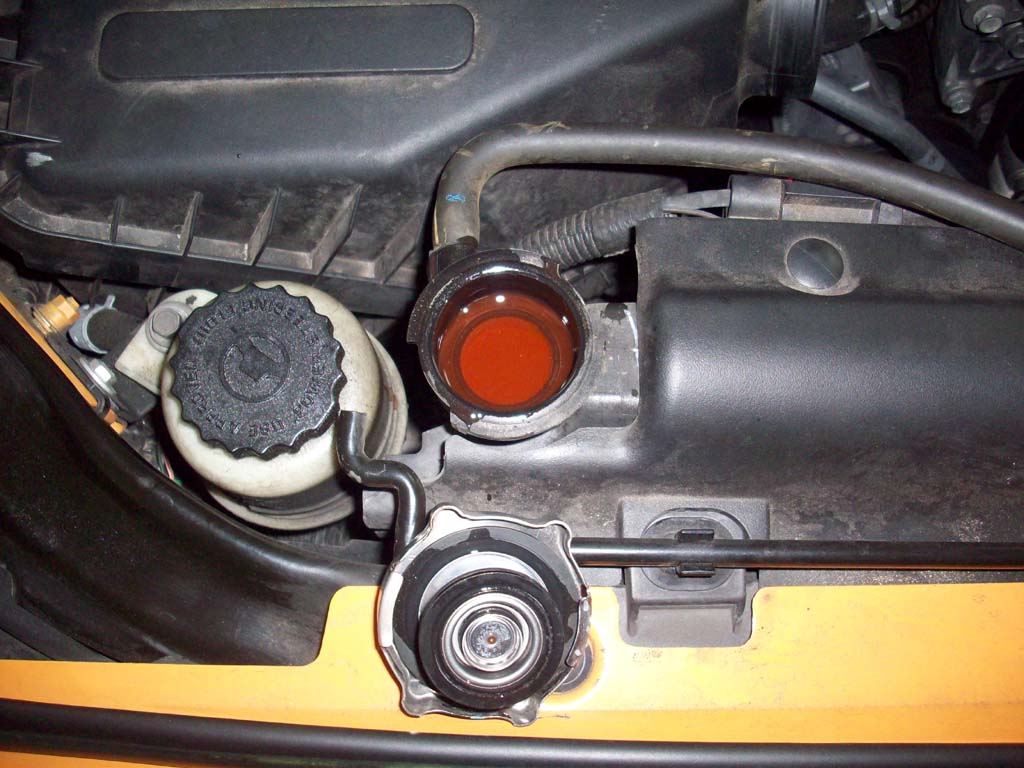
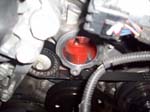
| 8. Remove the radiator cap. Make certain the engine and coolant isn't hot before you do this. |
 |
 |
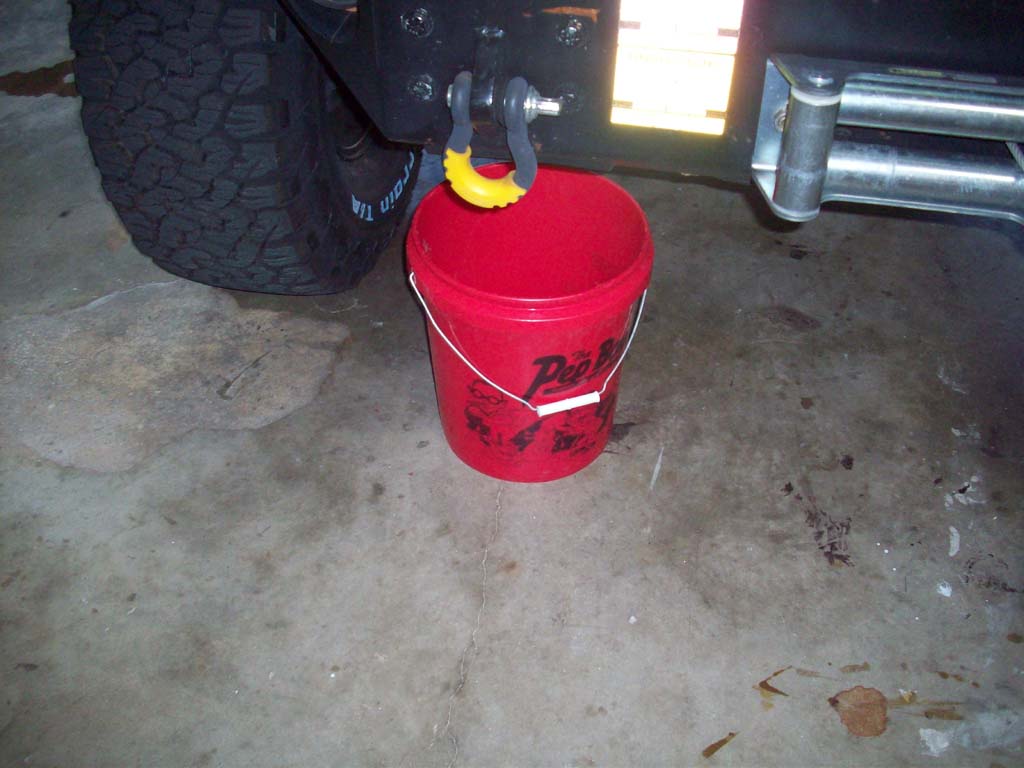
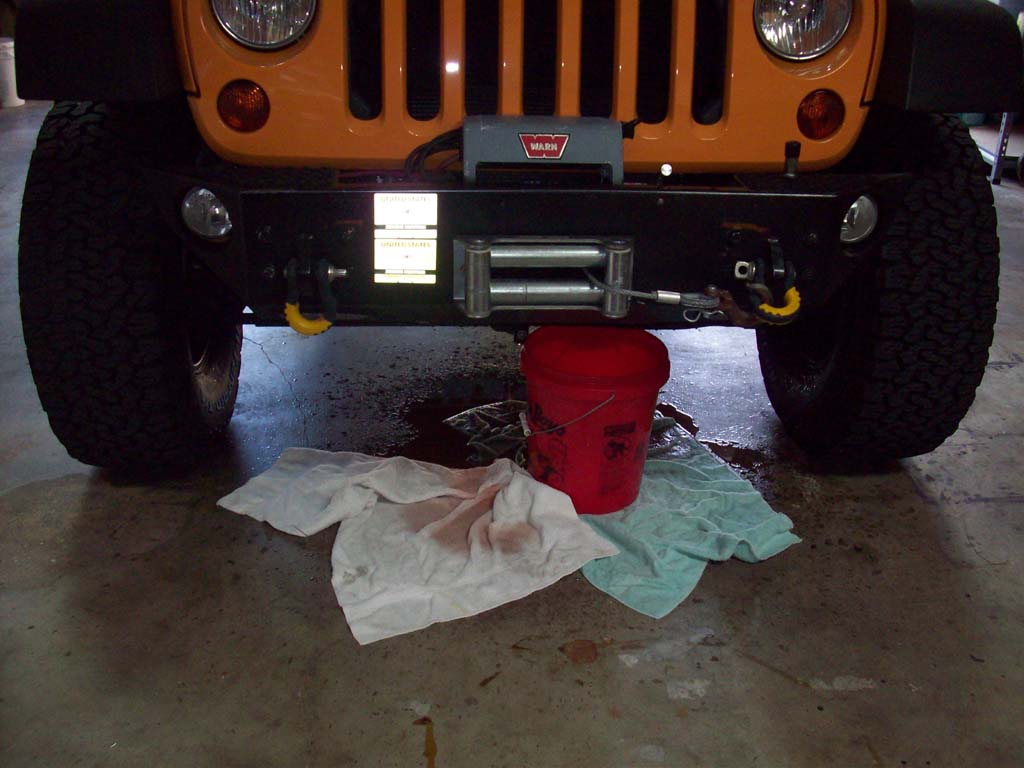
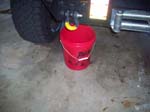
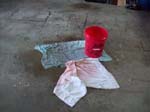
| 9. Place a bucket under the radiator drain and open the drain. The drain is above the anti-sway bar on the Jeep. You can get to it from the front if you remove/already removed the plastic cover from between the bumper and grill. And in my case nothing came out...... guess I have another problem to look at. I kind of expected this to happen. |
 |
 |
 |
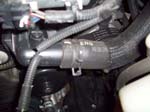
| 10. Okay, lets do it another way since the drain didn't work. Using a pair of channel lock pliers pinch the end of the hose clamps on both ends of the upper radiator hose. You only need to get these back past the nipples that the hose goes over. |
 |
 |
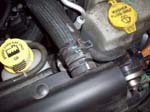 |
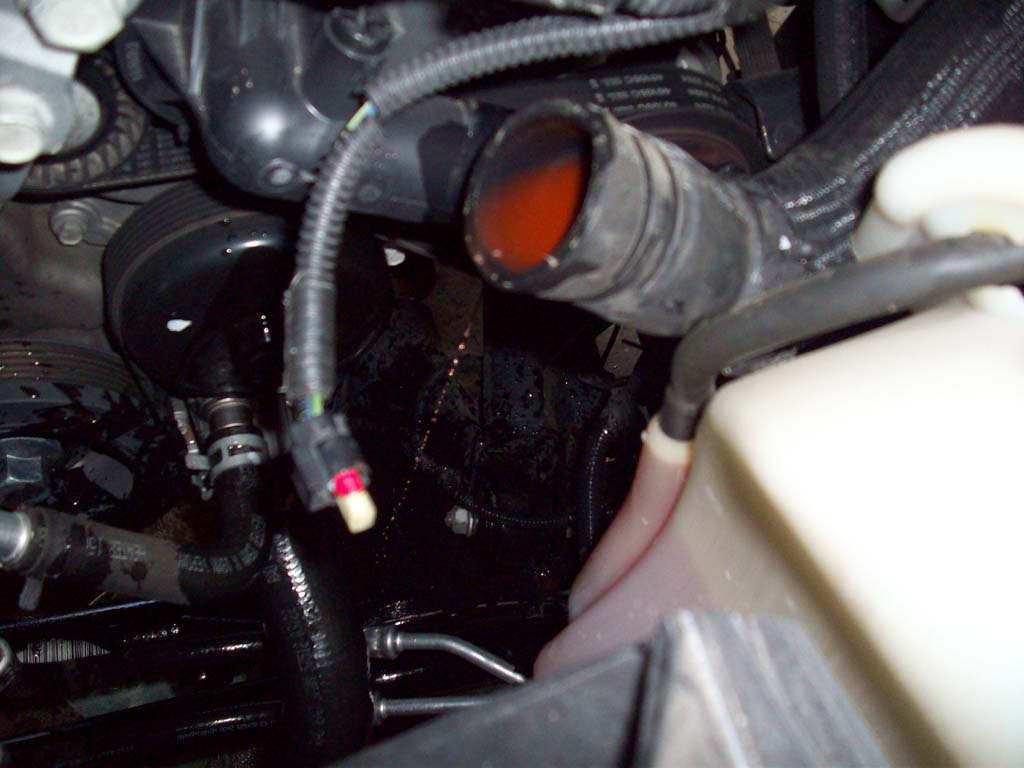
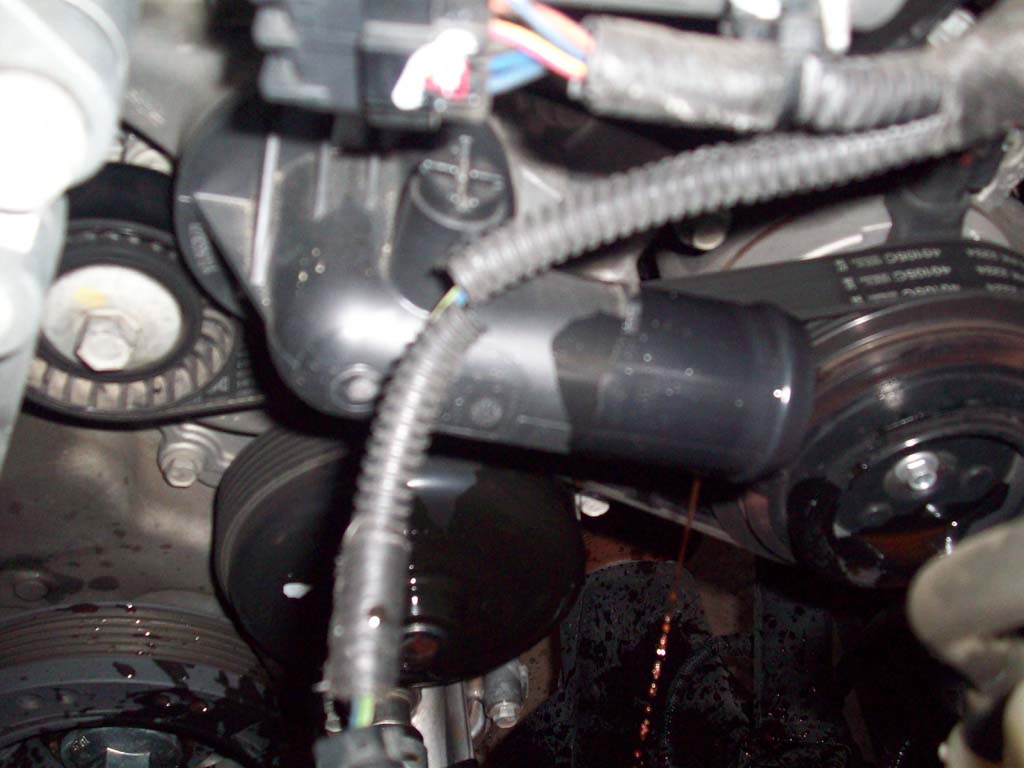
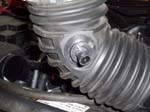
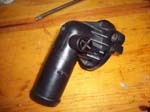
| 11. Disconnect the hose from the thermostat housing and twist it upwards to keep as much of the coolant in the hose and radiator as possible. |
 |
 |
 |
| Okay, this would be a good time to remind you that you need to close the radiator drain and move the bucket over.. |
 |
| 12. Remove the two (2) bolts/screws holding the thermostat housing to the engine with a #3 phillips screw driver, or a 10mm socket and extension. |
 |
 |
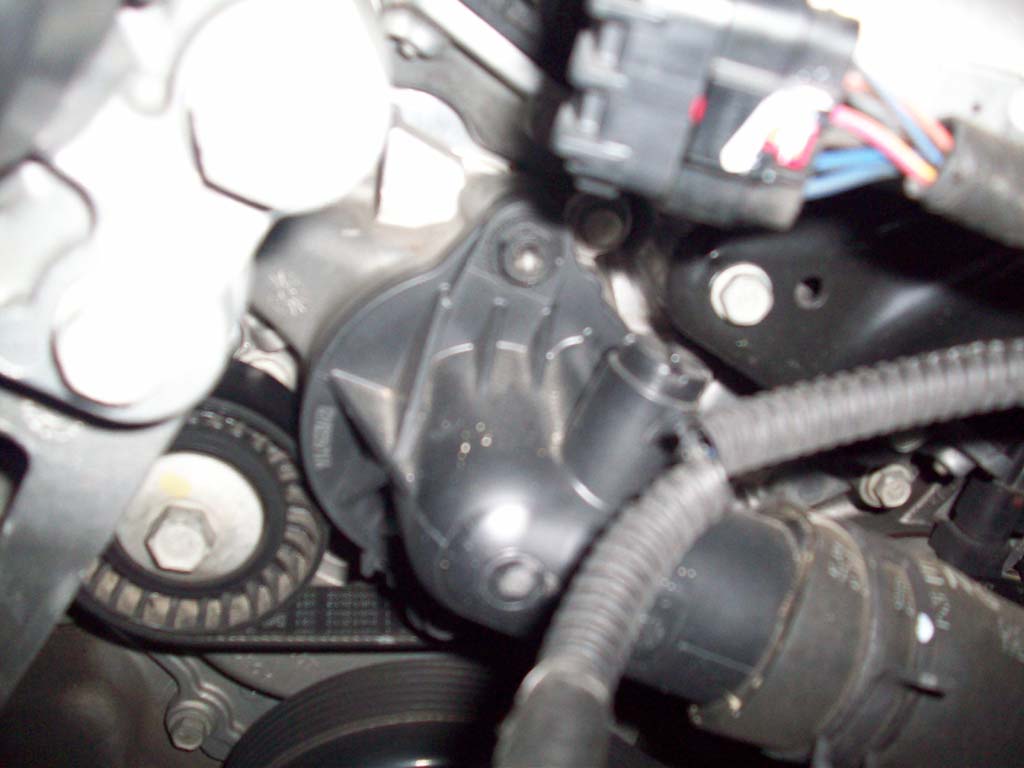
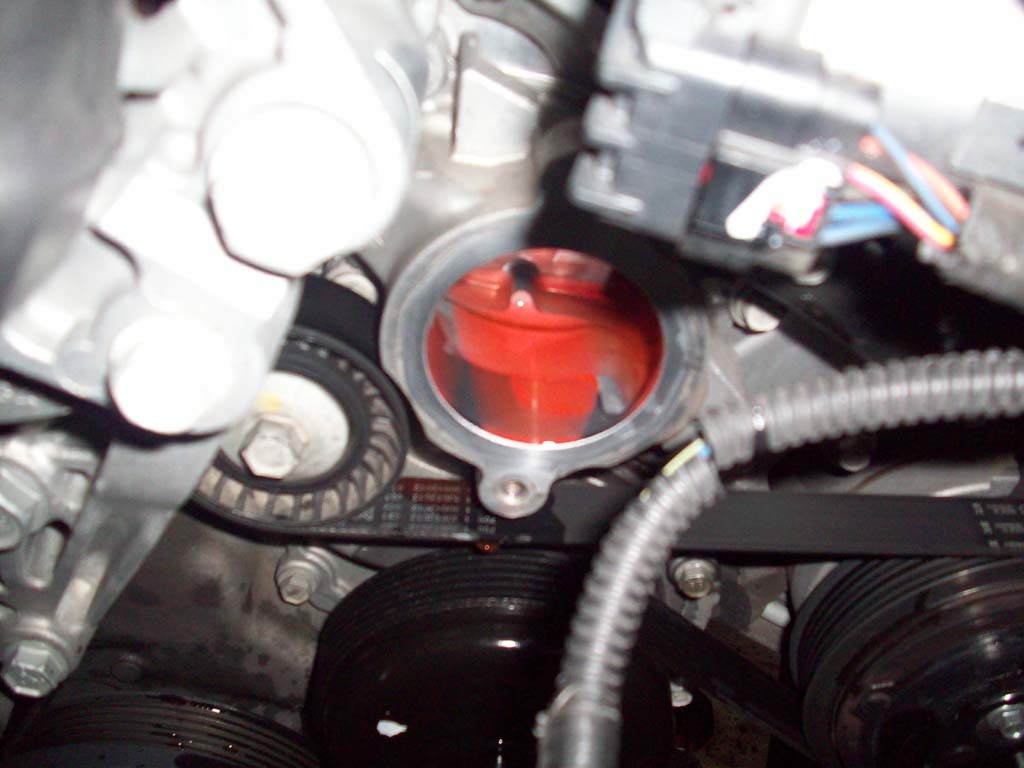
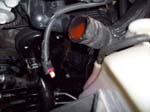
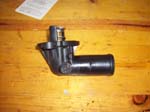
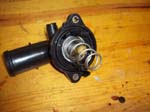
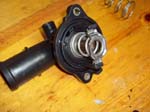
| 13. Remove the thermostat housing from the engine. Use a slight rocking motion to break the seal and pull it straight out. Check to make sure the seal did not stay attached to the engine block. |
| |
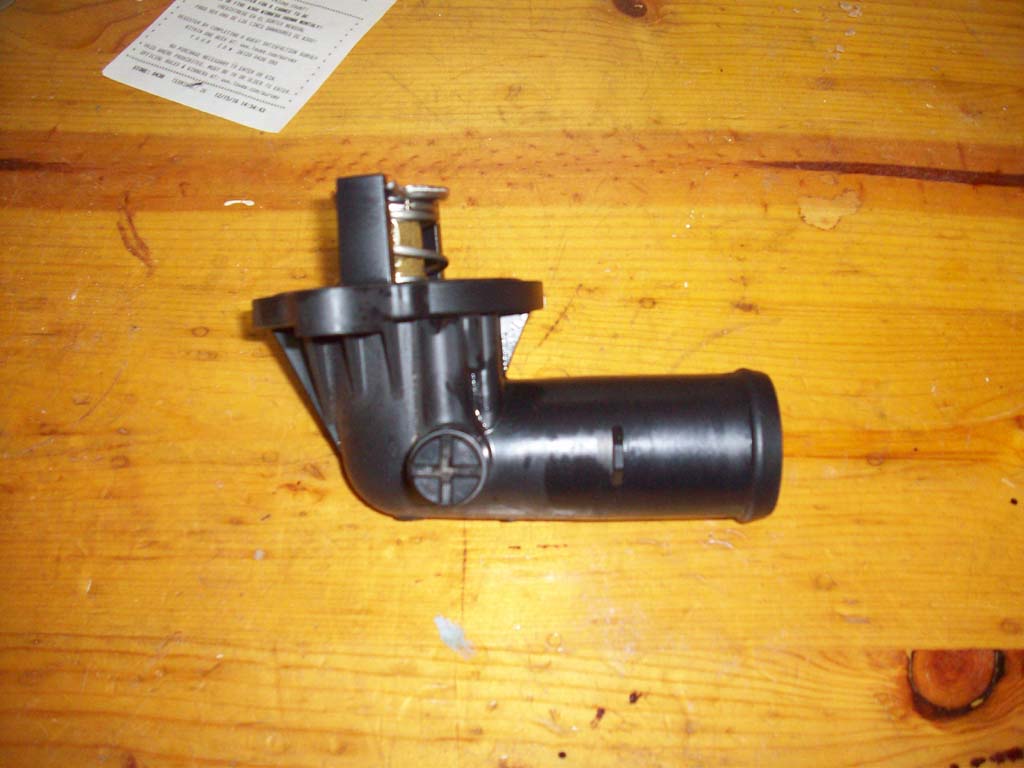
| Disassembly: |
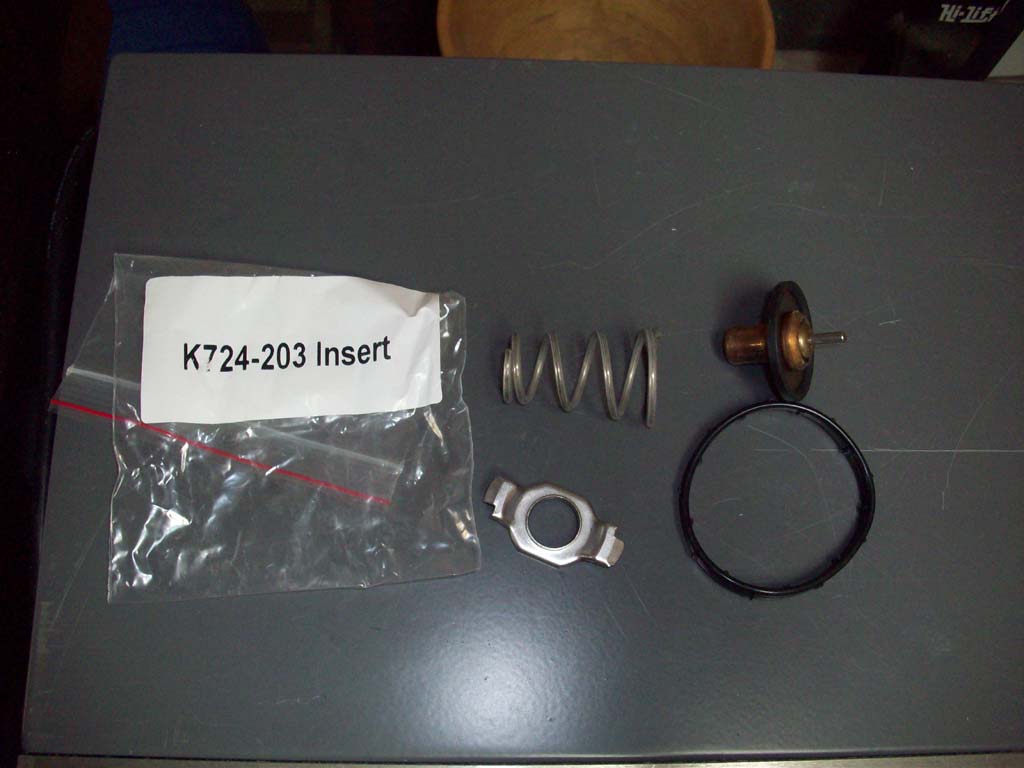
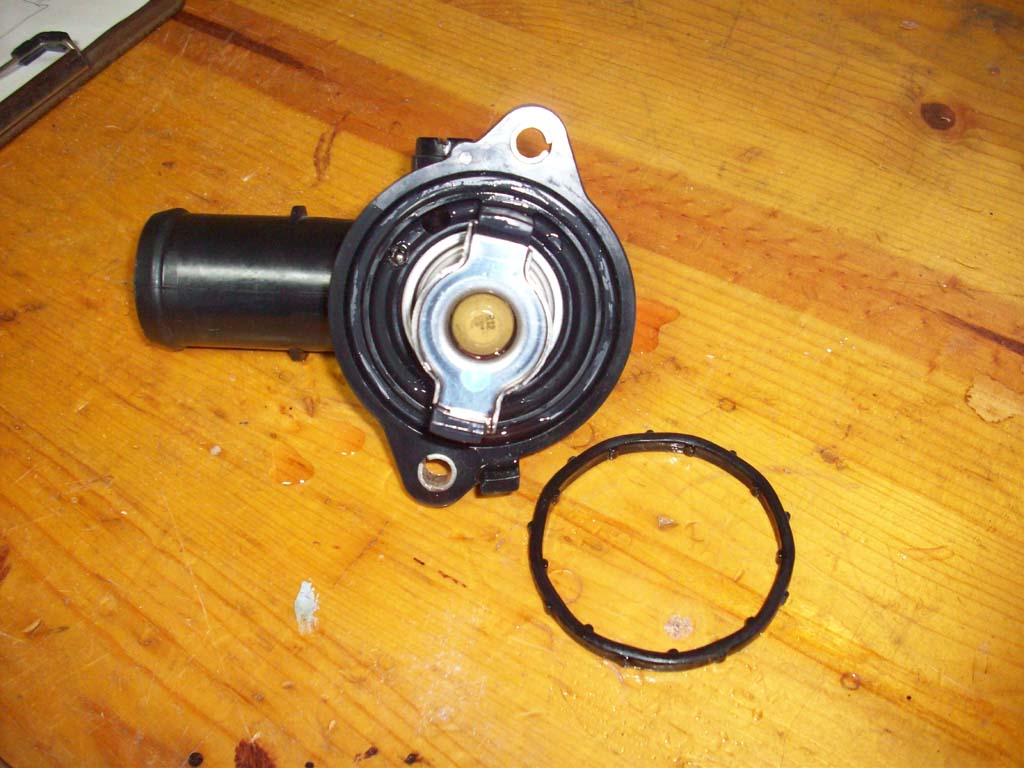
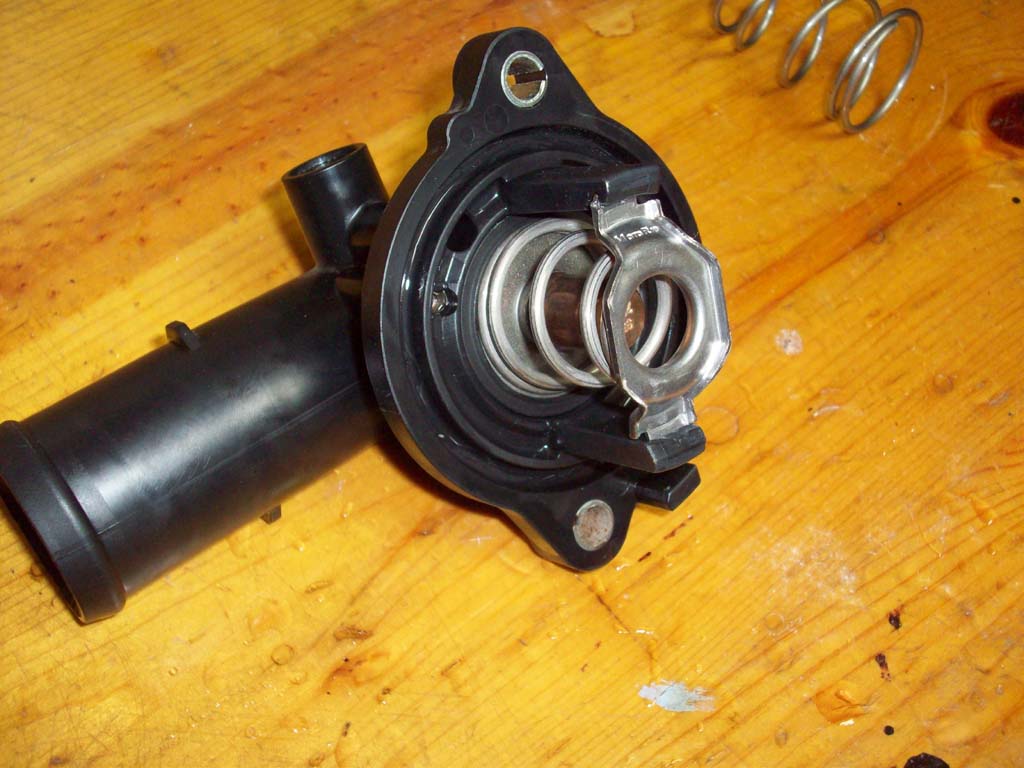
| Just a few pictures of the thermostat once it's been removed. |
 |
 |
 |
 |
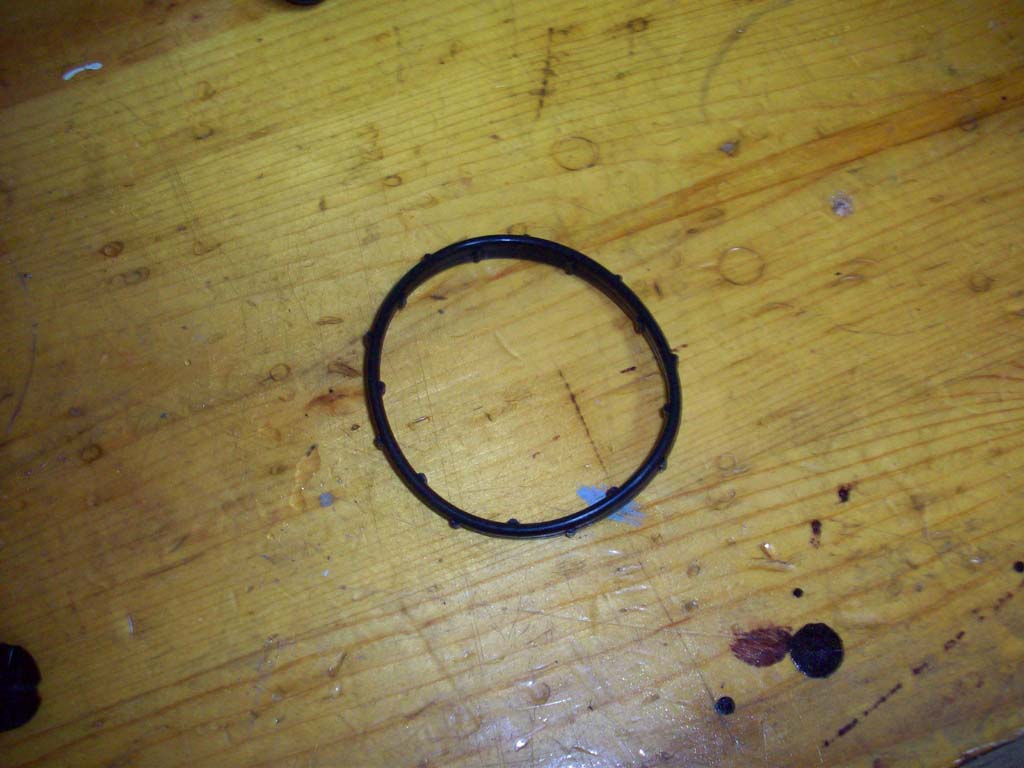
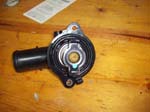
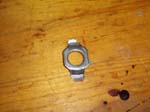
| 14. Remove the rubber gasket from the houseing. You may need a small scribe or pick to remove it. |
 |
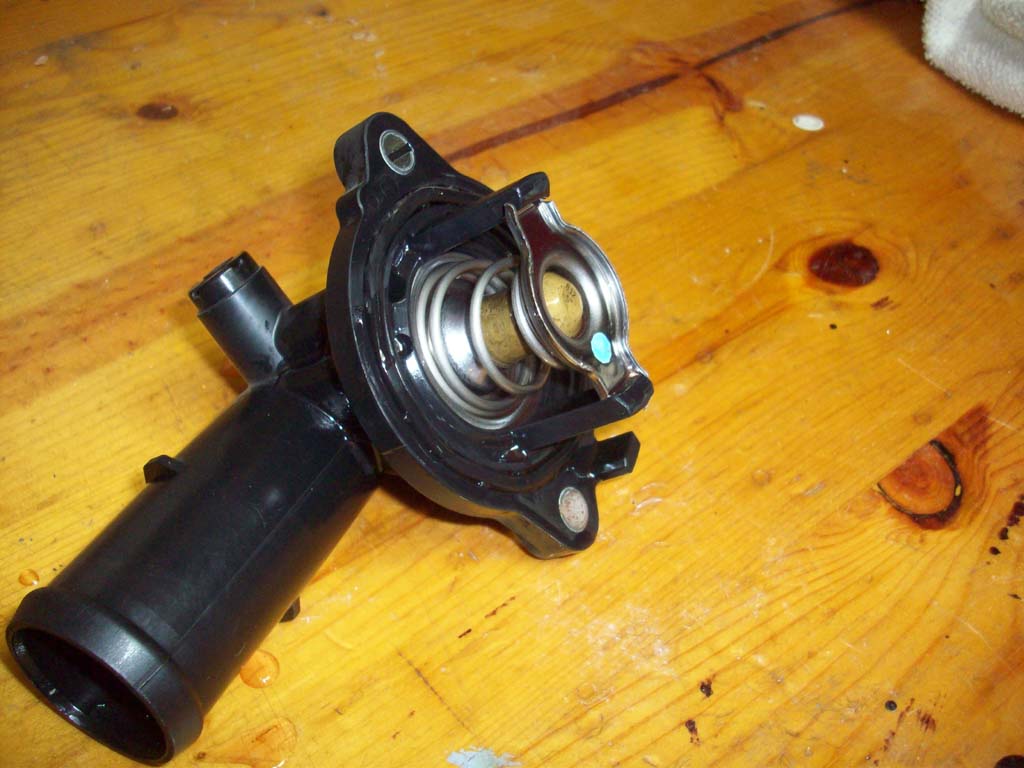
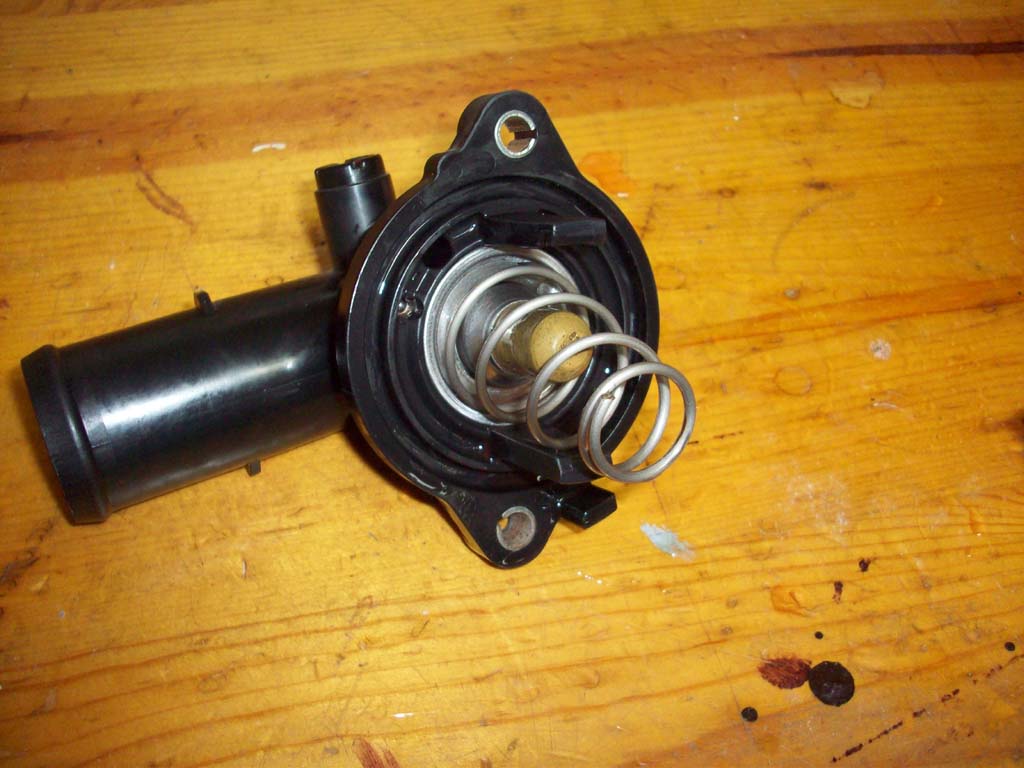
| 15. Remove the spring retainer by turning it counter clockwise. You will be able to see which way to turn it by looking at the tabs on the housing. |
 |
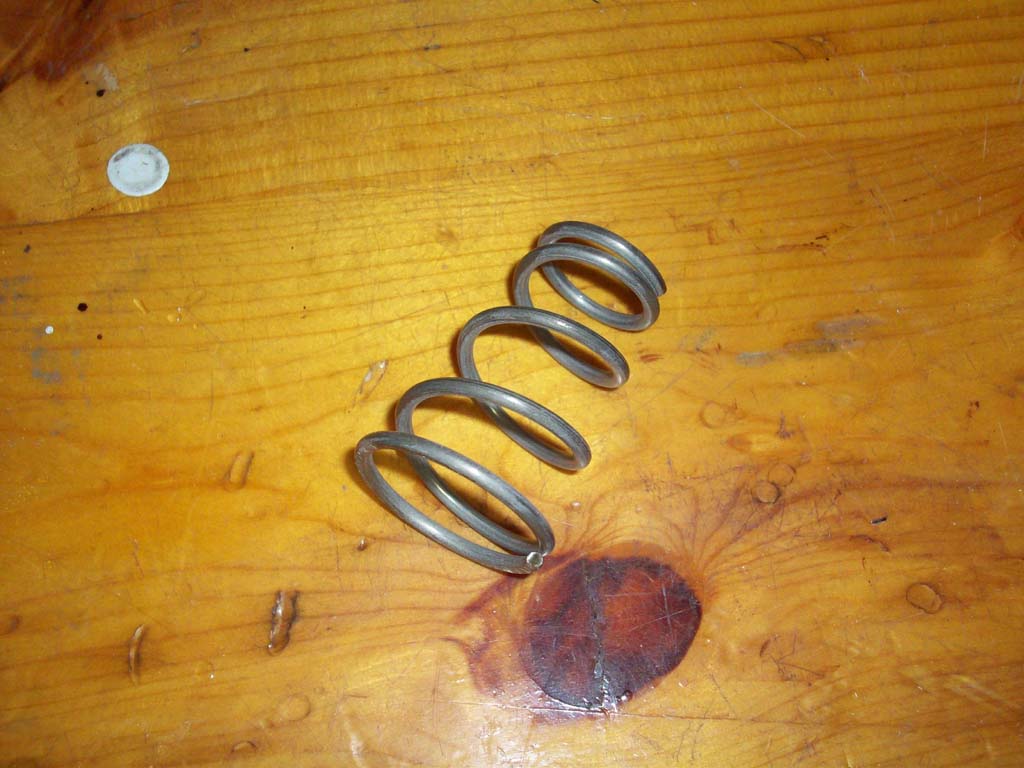
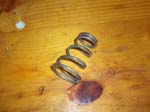
| 16. Remove the spring. |
 |
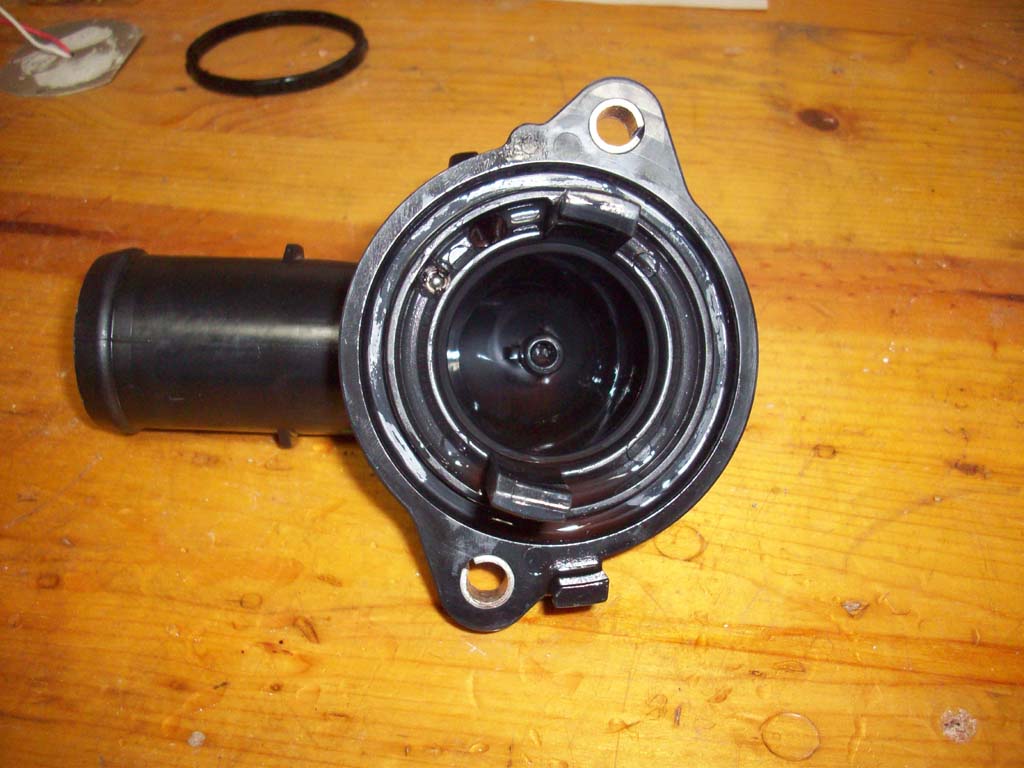
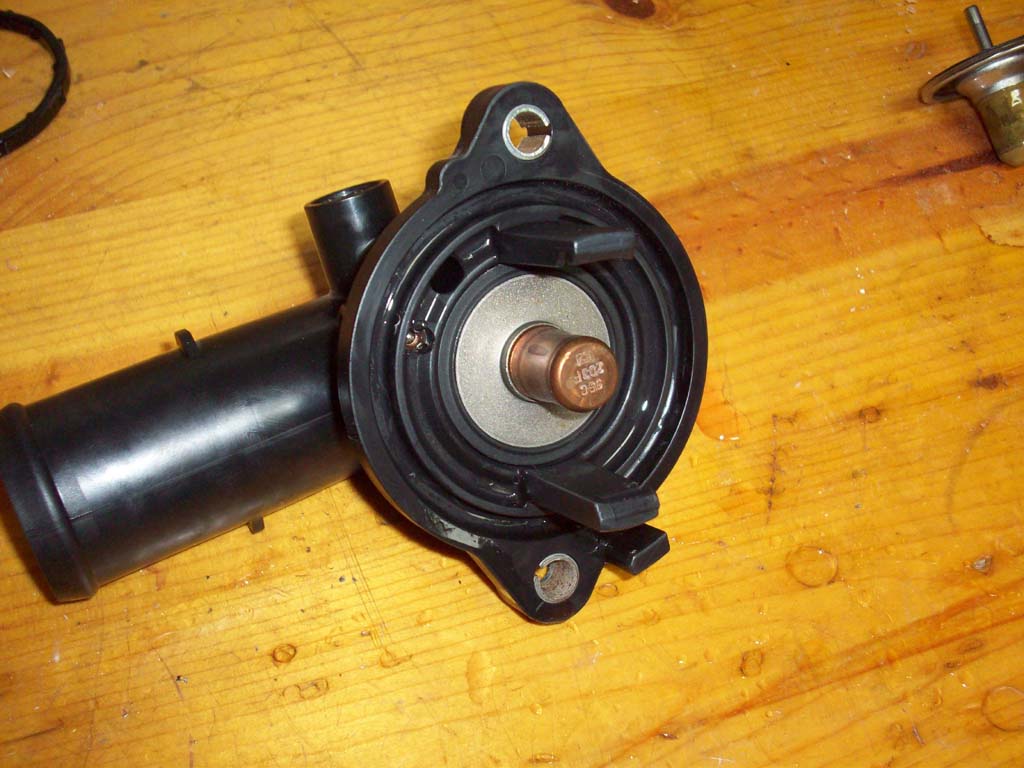
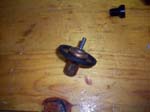
| 17. Remove the thermostat from the housing. Mine just fell out, but you may need to rock yours just a little to break the seal. |
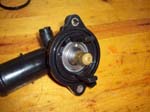 |
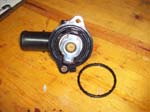
| 18. Inspect the houseing to make sure that there is no debris inside of it. |
 |
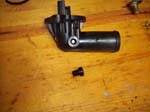
| 19. This is kind of optional. Carefully remove the vent screw with a phillips screw driver. Mine had some slime underneath it that I cleaned out with a cue-tip. Don't forget to put the screw back in. |
 |
 |
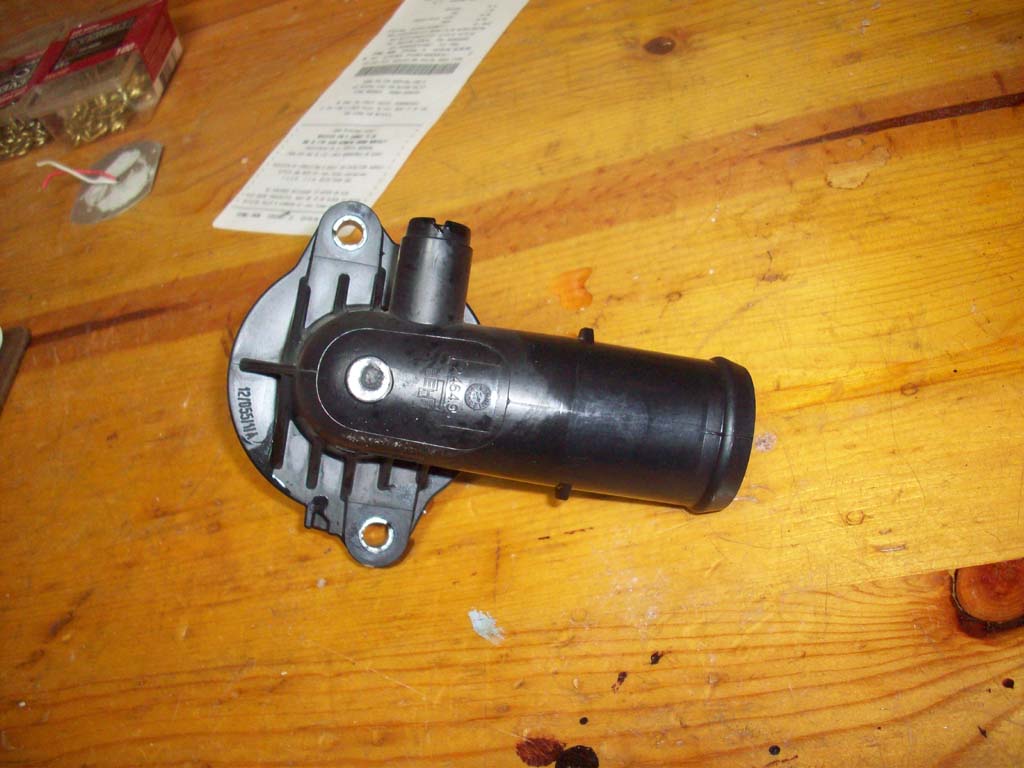
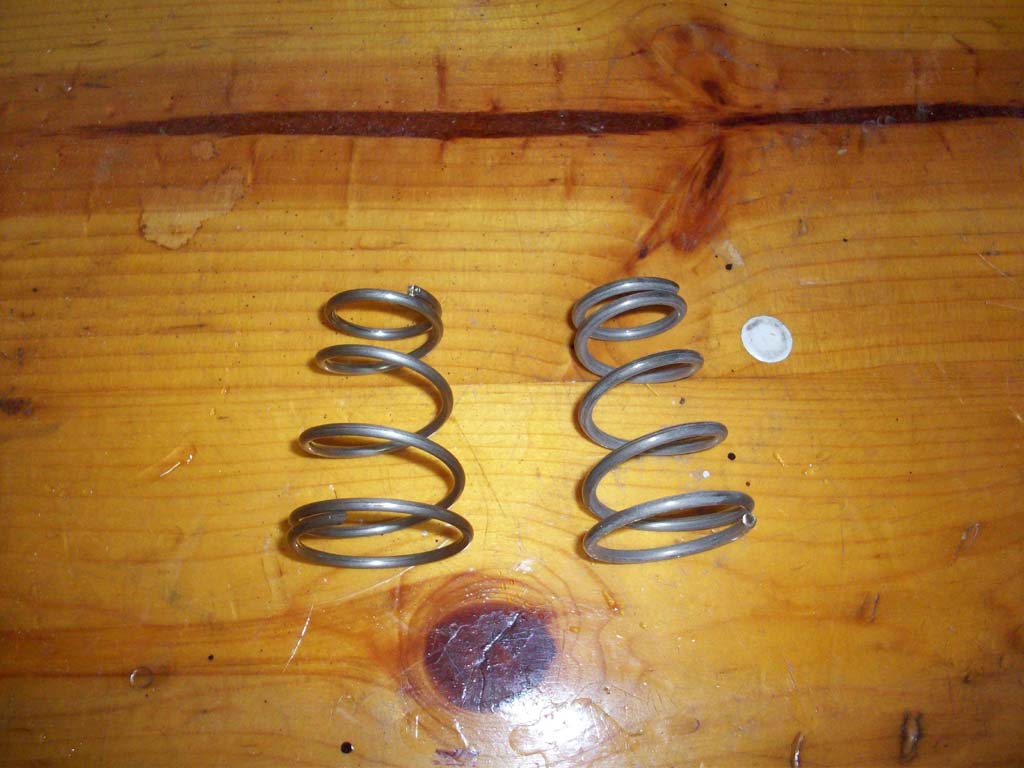
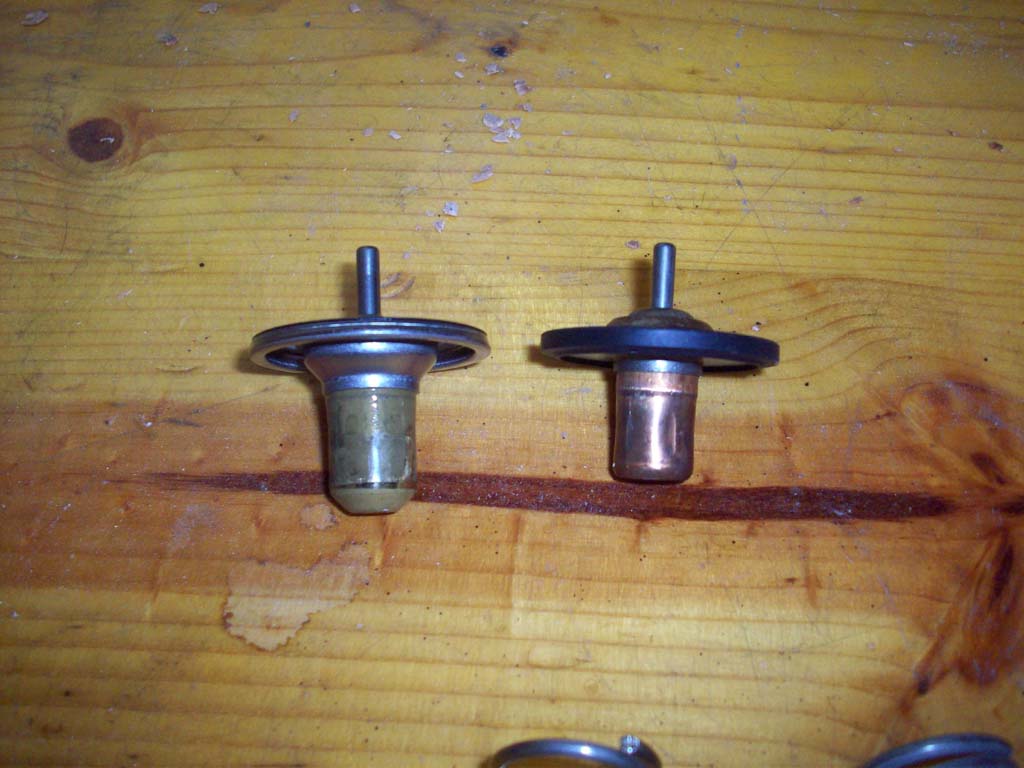
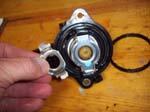
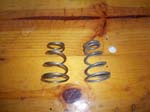
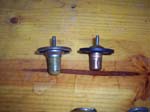
| Just some comparison shots: The Mopar seemed to be of better quality than the aftermarket for the most part. |
 |
 |
 |
| |
| Reassembly: |
| 20. Install the new thermostat. Th point goes in first. |
 |
 |
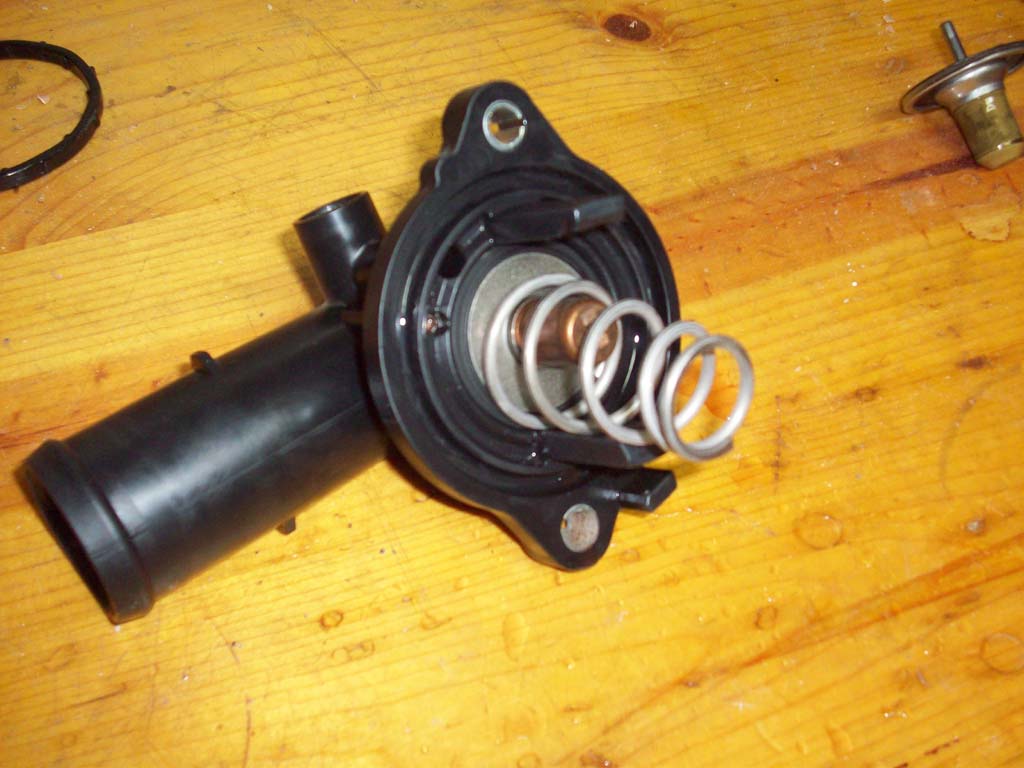
| 21. Install the new spring. My new spring was significantly stronger than the OEM. |
 |
 |
| 22. Install the new spring retainer. Line up the tabs with the slots on the housing and turn it clockwise until it seats in place. The retainer should point towards you. |
 |
 |
| 23. Install the new o-ring in the housing. |
 |
 |
| Completed assembly. |
 |
| |
| Reinstallation: |
| 24. Make sure the mating surface on the block is clean so that you can get a good seal. |
 |
| 25. Reinstall the two (2) bolts/screws holding the thermostat housing to the engine with a #3 phillips screw driver, or a 10mm socket and extension. |
|
|
| 26. Twist the upper radiator hose back down and slide the end over the thermostat housing. |
|
|
|
| 27. Use a pair of channel lock pliers pinch the end of the hose clamps on both ends of the upper radiator hose. You only need to get these back past the nipples that the hose goes over. |
|
|
|
| 28. Make sure you closed the radiator drain that you opened previously, if you haven't already. |
|
|
| 29. Reconnect the harness to your IAT sensor. |
|
|
| 30. Reconnect the intake tube to the throttle body and air box. Use a flat tip screwdriver to tighten the two (2) hose clamps. |
|
|
| 31. Reinstall the air inlet tube. Tighten the two (2) bolts using a 10mm socket. |
|
|
| 32. Reinstall the rubber radiator overflow hose in the two (2) clips. |
|
| 33. Refill your radiator with the appropriate mixture and type of Anti-freeze. You will probably need to do this again when the engine warms up and the fluid starts flowing. Don't worry about the coolant bottle at the moment. |
 |
 |
| 34. Have someone start your Jeep after makeing sure it's not in gear and the parking brake is set. You are standing in front of it. Check for leaks. |
| 35. Using a phillips screw driver slowly open the thermostat housing vent plug to purge air out of the engine block side of the thermostat. Close it when you get fluid. |
|
| 36. Turn off the engine and refill your radiator as needed. Check your coolant bottle to make sure you have at least the minimum in it. Reinstall your radiator cap. |
 |
 |
| 37. Restart the Jeep and check for the thermostat to open at 210 degrees, or 204 degrees (This depends upon which thermostat you bought). |
 |
| 38.Turn off the Jeep and reinstall the engine cover. |
|
|
| 39. Let the Jeep cool off and recheck the fluid levels. If you remove the radiator cap, make sure that it is not hot prior to removing. Hot splashed boiling liquids on the body do not feel good. |
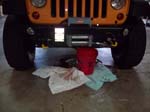
| Yep, made a little mess out of this one. Just remember that Anti-freeze is dangerous to animals so dispose of everything properly. |
 |